How to Install PrestaShop on Localhost in Windows 11 Using XAMPP: Do you want to install PrestaShop on localhost in Windows 11? You are at the right place. In this article I will take you through the steps on how to easily install Prestashop on your Windows 11 PC in XAMPP server.
Installing PrestaShop on Localhost in Windows 11
Before you start the installation process, you will have to download the following:
1. XAMPP Server.
2. Prestashop installation Files.
1. Download & Install XAMPP Server:
Go to the official XAMPP Server website listed above to download XAMPP. Download and install the PHP 7.4 version. If you want help with XAMPP Server installation on your computer, you can watch the video tutorial above.
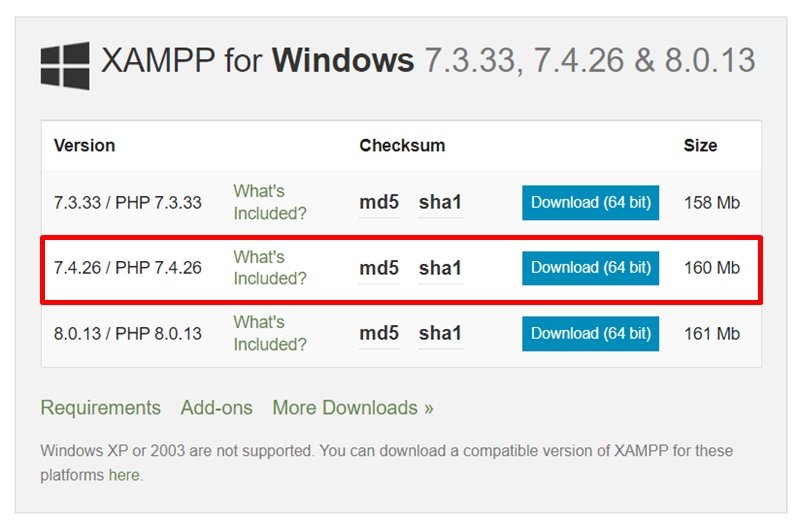
Once you have XAMPP Server installed on your computer, you can proceed to the next step.

2. Download & Install PrestaShop:
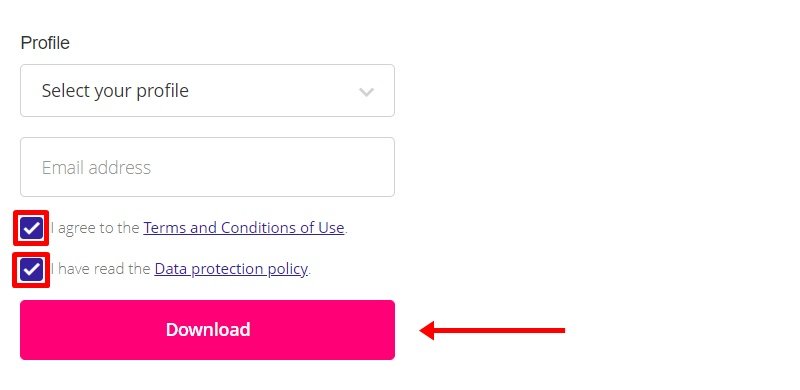
Go to the official PrestaShop download page. Agree to the terms and conditions plus the data protection policy then click the download button. A zip file containing PrestaShop files will be downloaded to your PC.
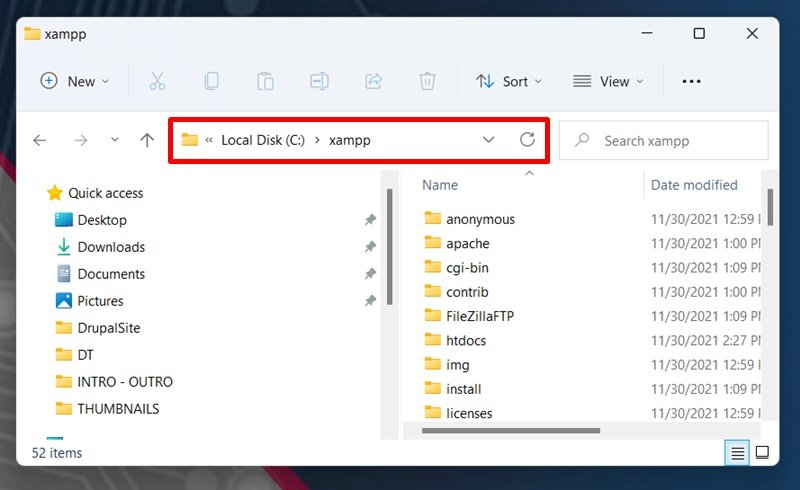
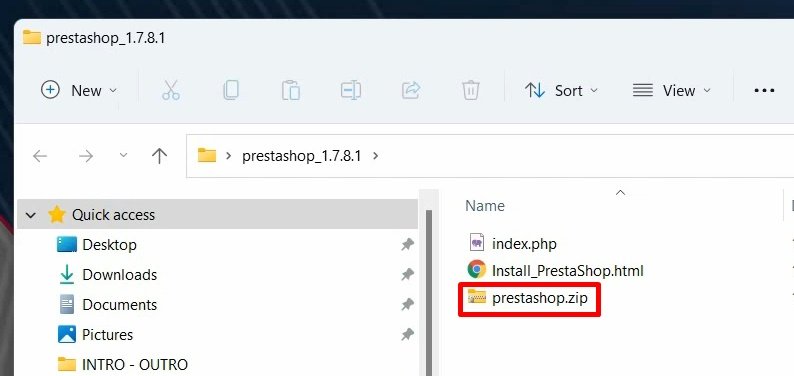
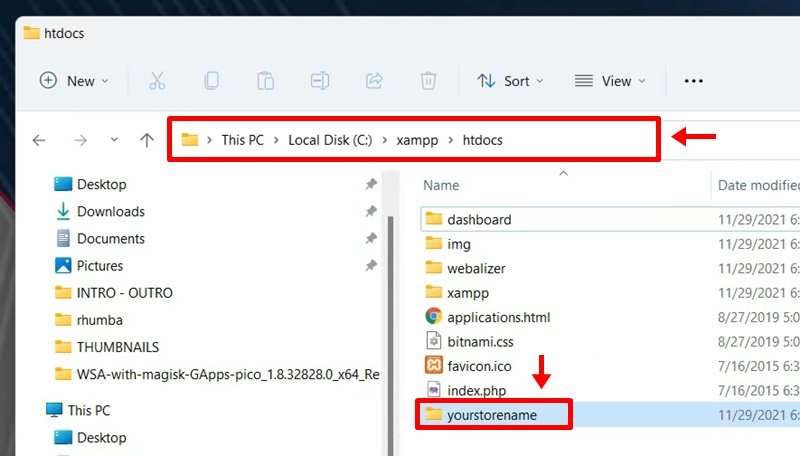
Once the download is complete, extract the zip file to retrieve the prestsashop.zip file. Go ahead and unzip this file and then move the files to a new folder in XAMPP within the htdocs folder “C:\xampp\htdocs”
3. Creating Database:
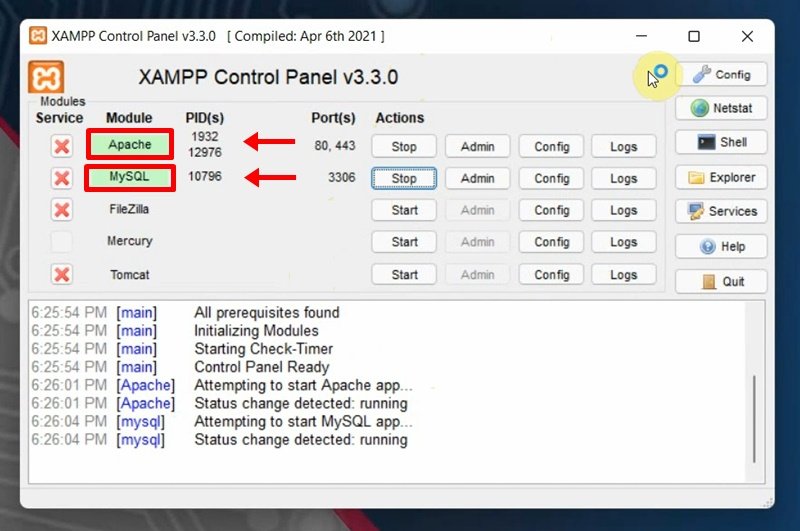
Make sure XAMPP Server is running.
Open up localhost in your browser then go to phpMyAdmin menu. Click New to create a new database, give it a name then press Create button


Now, go to the browser and type localhost/yourprojectfolder to start PrestaShop installation.

Select your preferred language and click on Next which will take you to the licence agreement page.

Agree to the terms and condition and click Next.

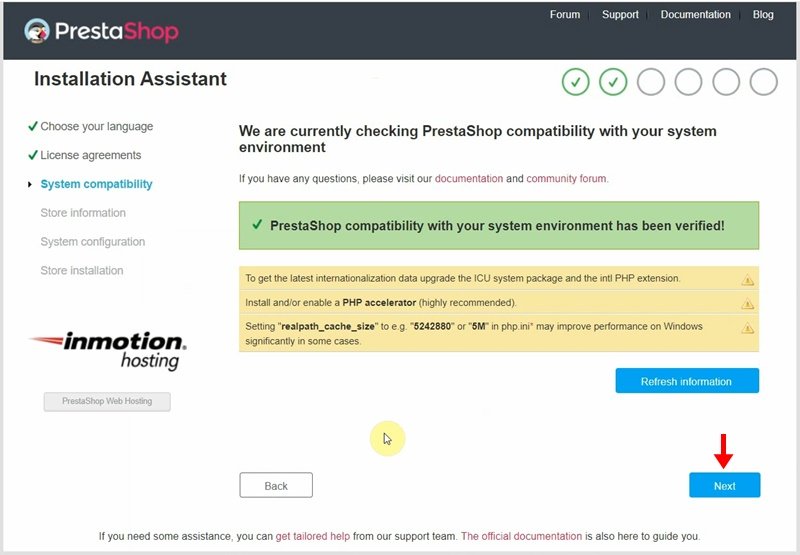
Now, we’ve reached the System Compatibility check for PrestaShop Installation. In case of any errors, watch the step by step video tutorial above otherwise click Next.
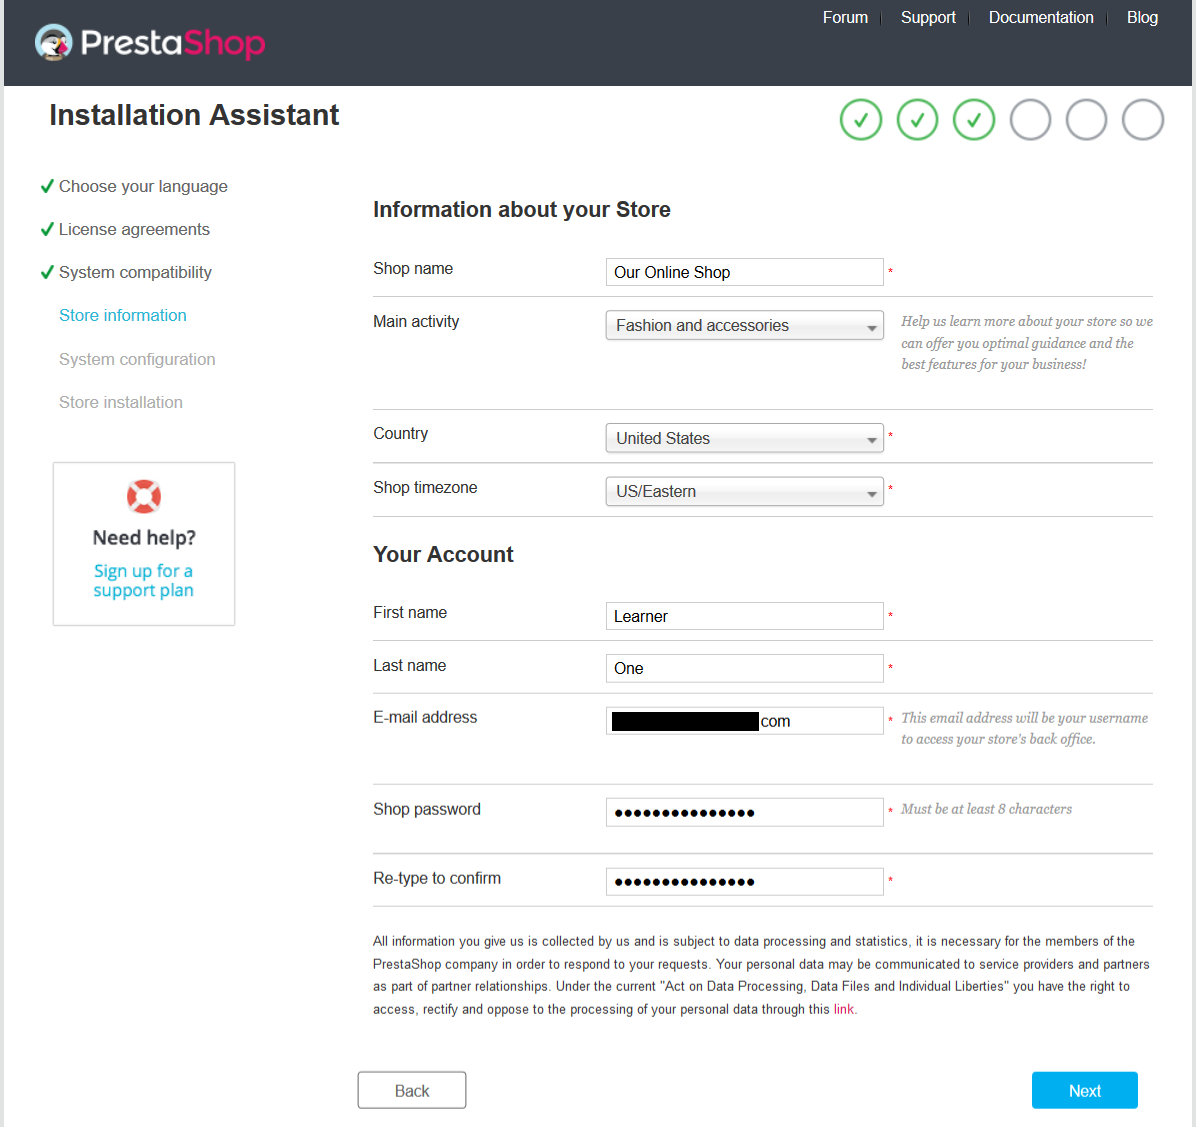
Fill up your store information: give it a name, indicate its main activity and the personal information of the owner.
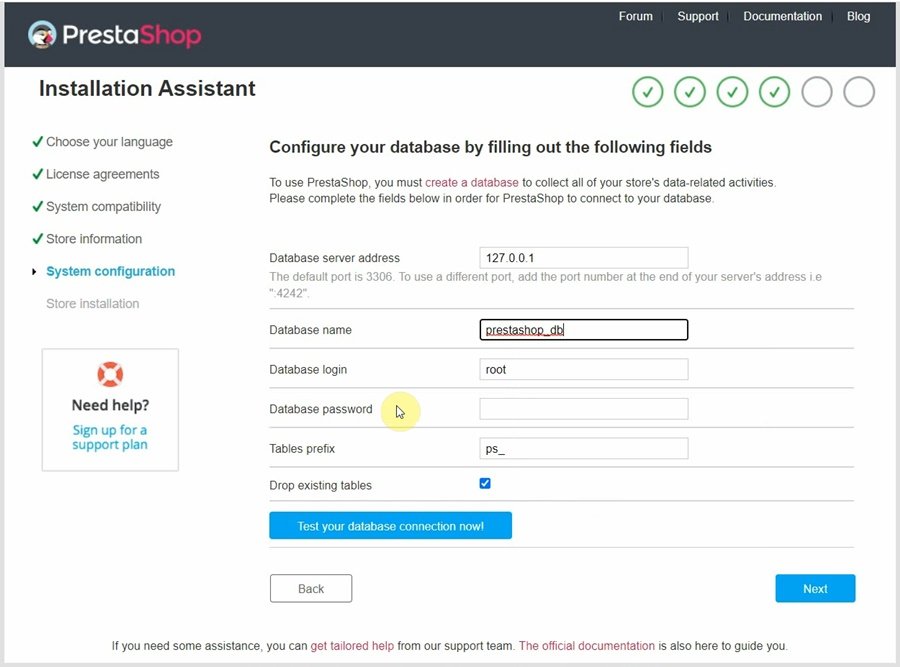
Next, fill in all the fields with the database connection details and when done click on Next.
- Database server address
- Database Name
- Login (Database user)
- Password (Database password)
- Tables prefix (The table prefix can be left unchanged as well)
This might take a few minutes – please, be patient and do not touch your browser.
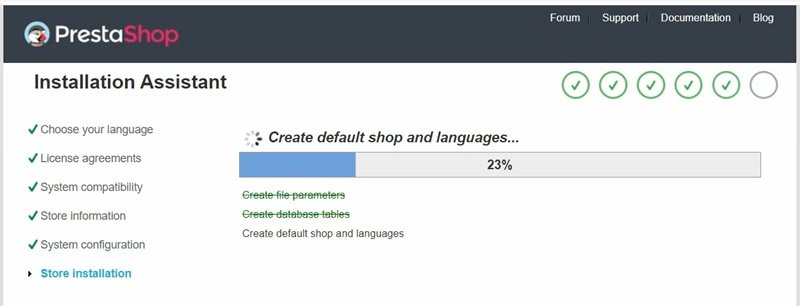
The Wizard will create the necessary tables and finalize setting up the shop, updating your configuration file. You will see a page that looks something like this when it’s done:

For security purpose, you need to rename or delete the Install folder inside the Prestashop 1.7 installation folder & Zip file. I suggest deleting the installation directory.
You will see 2 links, one for the Frontoffice and another for Backoffice. If you click on Front Office, you will be taken to the frontend of your prestashop store. And if you click on the Backoffice you will not be taken to the backend of the store.
Frontend
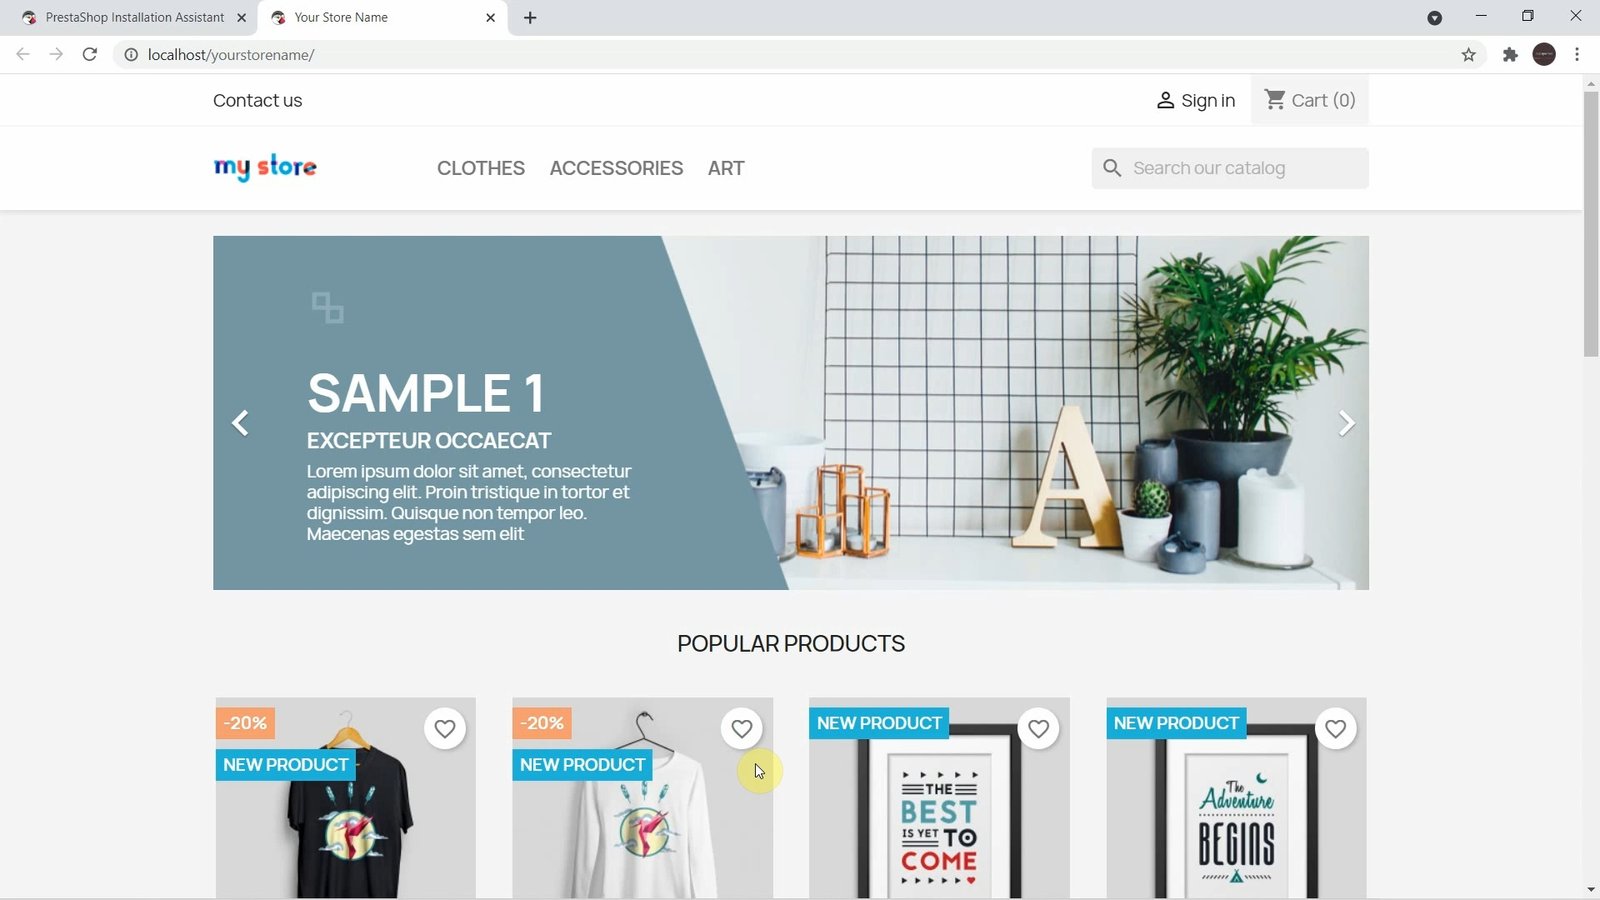
Backend

Your Prestashop installation is complete. If you have any question or you are stuck anywhere, watch the step by step video tutorial below on how to install Prestashop on localhost in Windows 11 computer.
Rate post




Add comment