How to install Blender on Windows 11 PC: In this article, I will take you through the steps on how to download and install Blender in Windows 11 PC or Laptop.
Blender is a free and open source 3D creation suite. It supports the entirety of the 3D pipeline—modeling, rigging, animation, simulation, rendering, compositing and motion tracking, even video editing and game creation.
Advanced users employ Blender’s API for Python scripting to customize the application and write specialized tools; often these are included in Blender’s future releases. Blender is well suited to individuals and small studios who benefit from its unified pipeline and responsive development process.
Installing Blender on Windows 11 PC
Downloading and Installing Blender is quite simple, it can be done in a few clicks. Read through the article to understand how to download and install Blender in Windows 11. The screenshot make it easy for you to see the installation process.
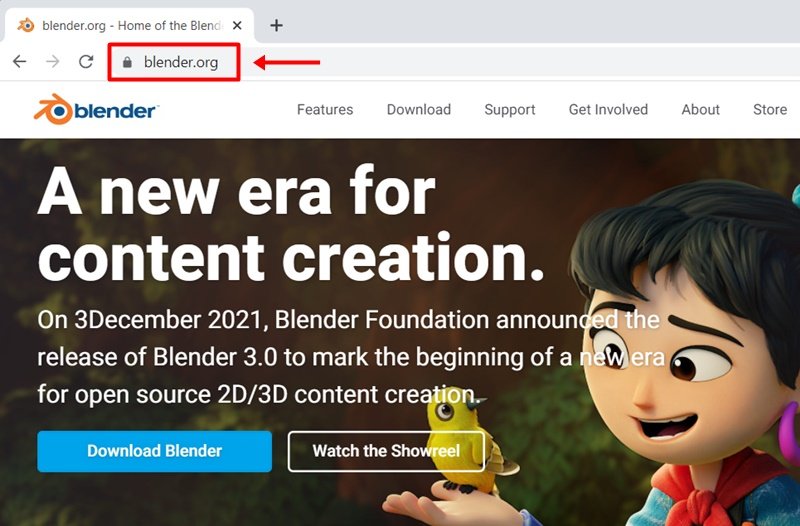
1. Go to the official Blender website and navigate to the download page.
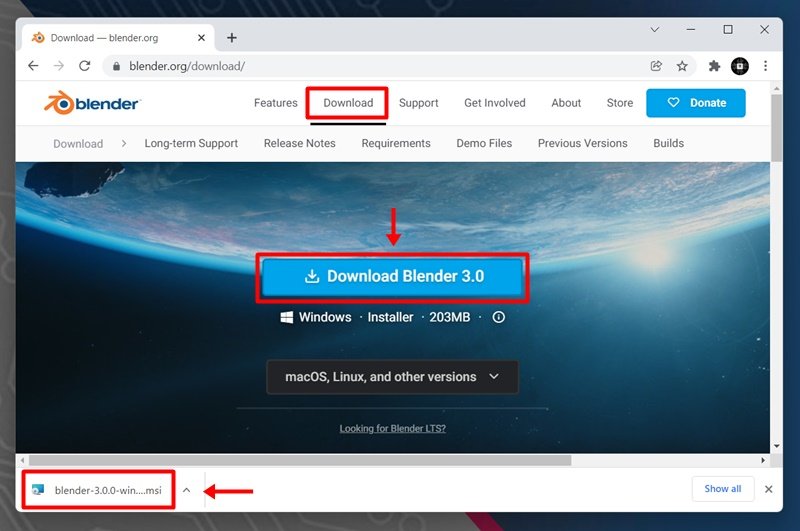
2. Navigate to the Download page and click the Download Blender button.
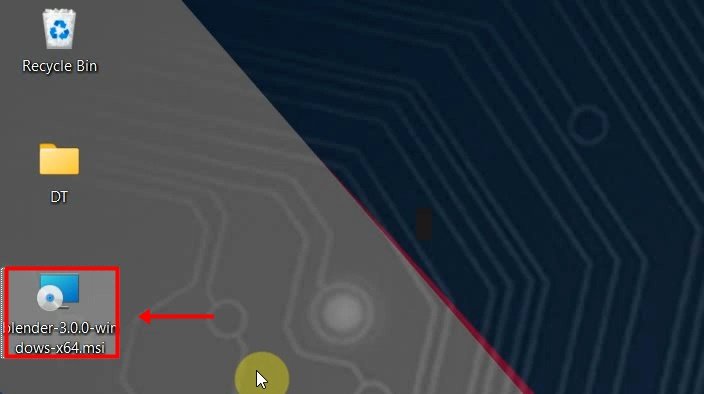
3. Once the download has been completed, locate the setup file and double click on it to start the installation process.
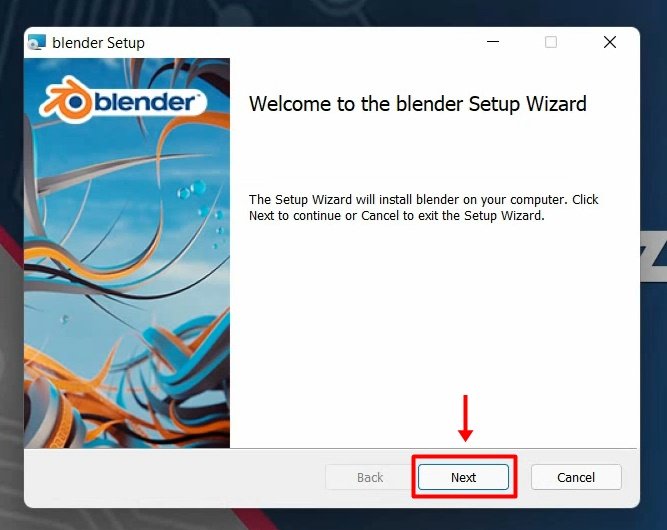
4. Click Next when the installation wizard appear.
5. Next, Agree to the Terms and Conditions. When prompted, click I Agree in the installation wizard.
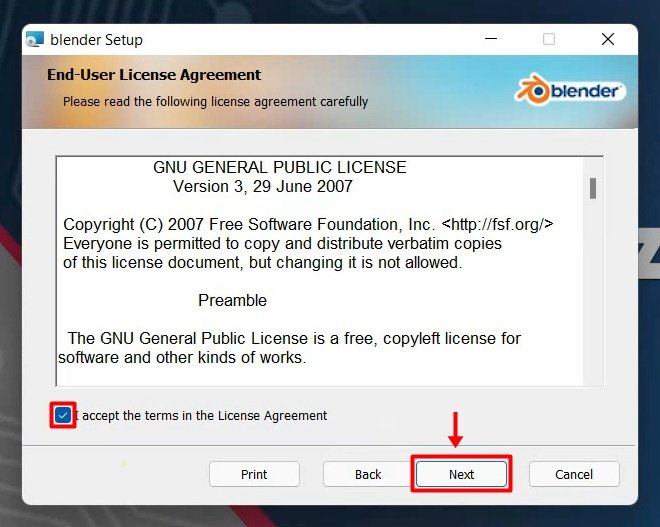
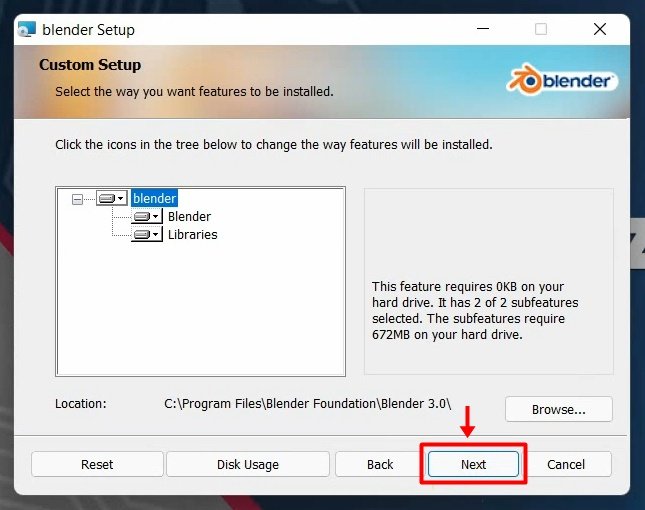
6. Choose a destination folder. The default location is the Program Files folder of Drive C:\ in your computer. You may change the location of the application by clicking Browse…. Then click Next.
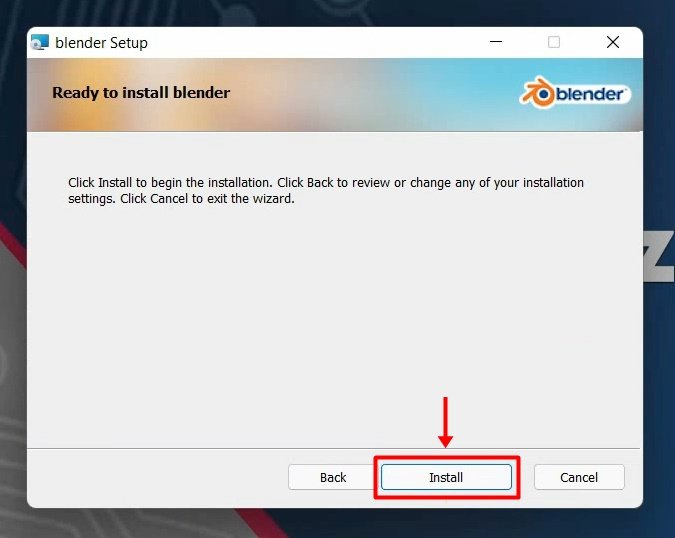
7. Click Install.
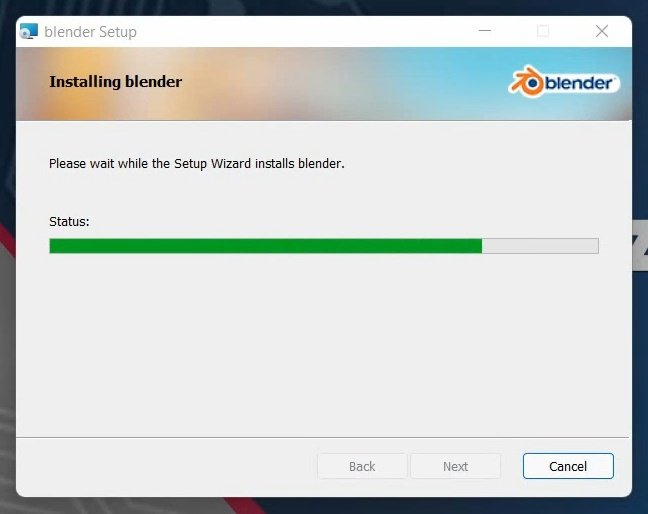
8. Wait for Blender to install. The status bar indicates the progress of the installation. Depending on your computer processor and speed, it will probably take less than 5 minutes.
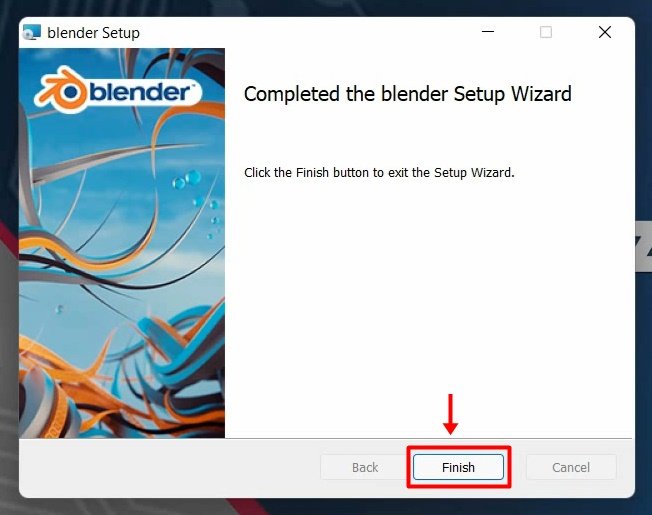
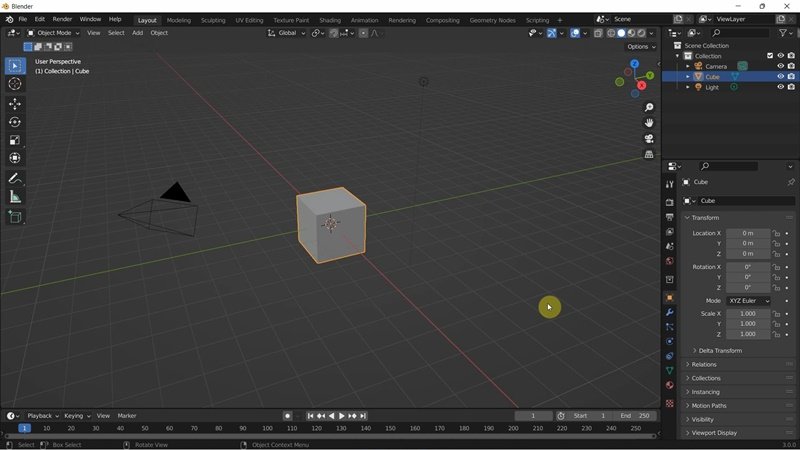
9. Click Finish when the installation is completed. Blender is now installed in your computer. You can start exploring the application when it starts automatically.
Rate post


Add comment