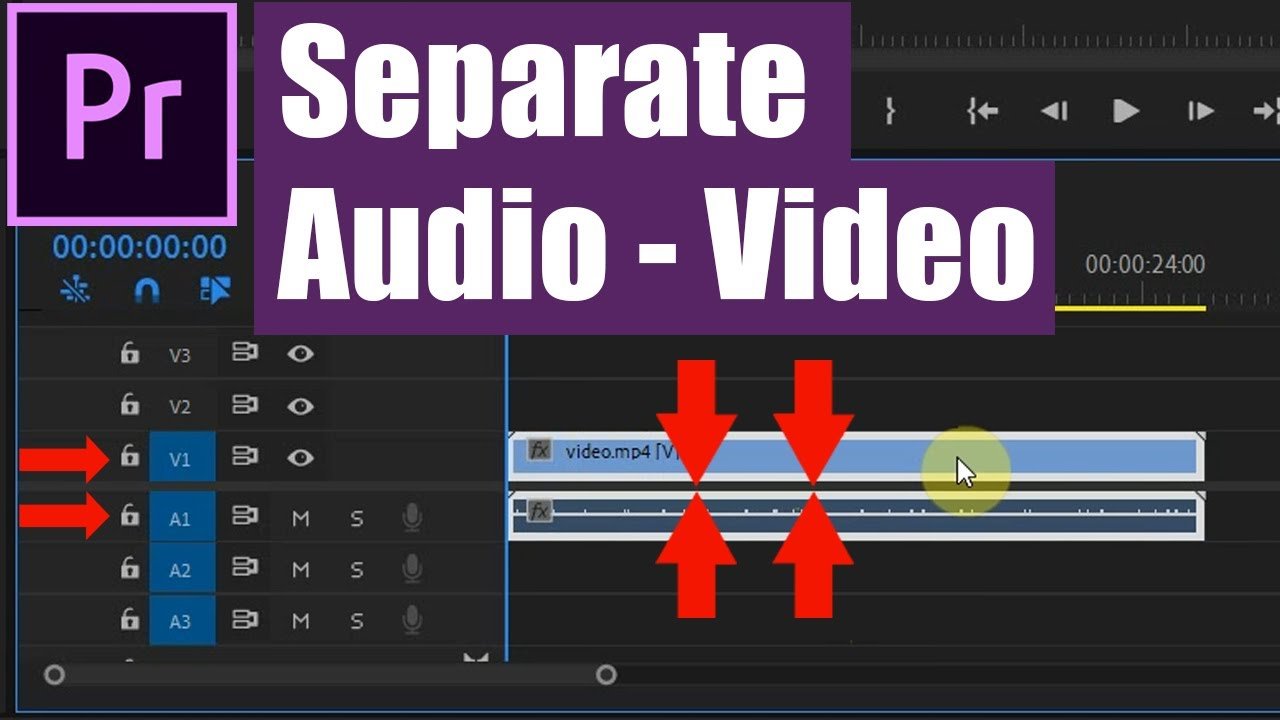
How to Separate Audio From Video in Premiere Pro: This is a quick beginner tutorial on how to separate audio from video in Adobe Premiere Pro CC 2021
How to Separate Audio From Video in Premiere Pro CC 2021
To split audio and video in Adobe Premiere Pro CC 2021, you need to click on the linked track and select “Unlink” as shown in the video below
To separate audio from video in Adobe Premiere Pro, you can follow these steps:
- Import your video clip: Launch Adobe Premiere Pro and create a new project. Import your video file by going to “File” > “Import” and selecting the file from your computer.
- Create a new sequence: Right-click on the imported video clip in the Project panel and choose “New Sequence From Clip.” This will create a new sequence that matches the settings of your video clip.
- Add the video clip to the timeline: Drag and drop the video clip from the Project panel to the timeline at the bottom of the interface. The clip will appear as a track on the timeline.
- Expand the audio tracks: By default, the timeline shows only the video track. To reveal the audio track, click on the triangle icon in the bottom left corner of the video track. This will expand the track and show the associated audio track.
- Select and unlink the audio: Click on the audio track to select it. Then, right-click on the audio track and choose “Unlink.” This will separate the audio from the video.
- Remove the video track (optional): If you want to remove the video track and keep only the audio, you can right-click on the video track and choose “Delete.” This will remove the video track from the timeline, leaving only the audio track.
- Export the audio: To export the separated audio, go to “File” > “Export” > “Media.” In the Export Settings window, choose the desired audio format and location for the exported file. Click on “Export” to start the process.
By following these steps, you can easily separate audio from video in Adobe Premiere Pro and export it as a standalone audio file.
Rate post


 How to Import Illustrator Files (Logo) into Blender 3 | Importing SVG Files into Blender 3


Add comment