How to Install Moodle on Windows 11/10 PC Using XAMPP: Do you want to install Moodle on localhost in Windows 11? You are at the right place. In this article I will take you through the steps on how to easily install Moodle on your Windows 11 PC in XAMPP Server. The same procedure also applies when install Moodle on Windows 10 PC.
How to Install Moodle on Your PC in Windows 11
Before you start the installation process, you will have to download the following:
1. XAMPP Server.
2. Moodle installation Files.
1. Download & Install XAMPP Server:
Go to the official XAMPP Server website above to download XAMPP. Download and install the PHP 7.4 version. If you want help with XAMPP Server installation on your computer, you can watch the video tutorial above.
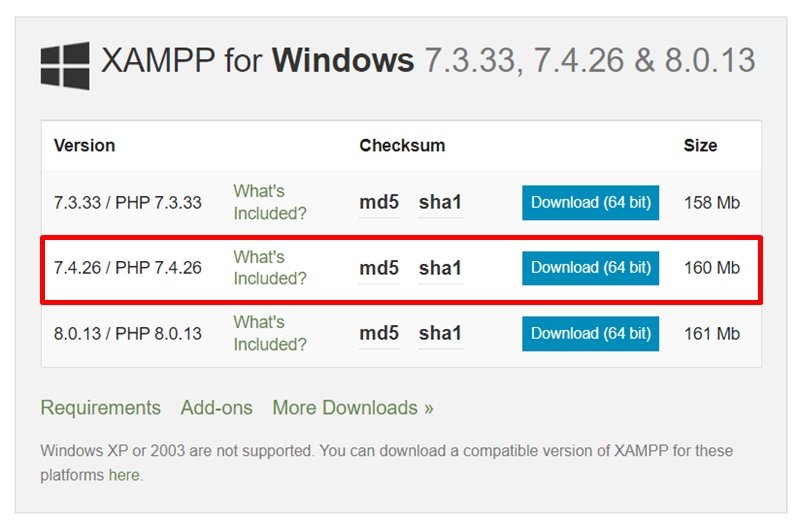
Once you have XAMPP Server installed on your computer, you can proceed to the next step.
2. Download & Install Moodle in Windows 11 PC:
Go to the official Moodle download page. Click the download button. A zip file containing Moodle files will be downloaded to your PC.

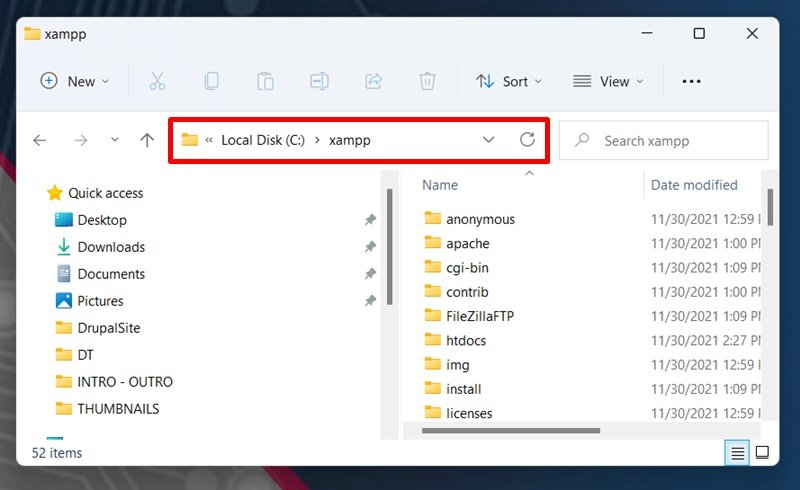
Once the download is complete, extract the zip file to retrieve Moodle files. Go ahead and move the files to a new folder in XAMPP within the htdocs folder “C:\xampp\htdocs”

3. Creating Database:
Make sure XAMPP Server is running.
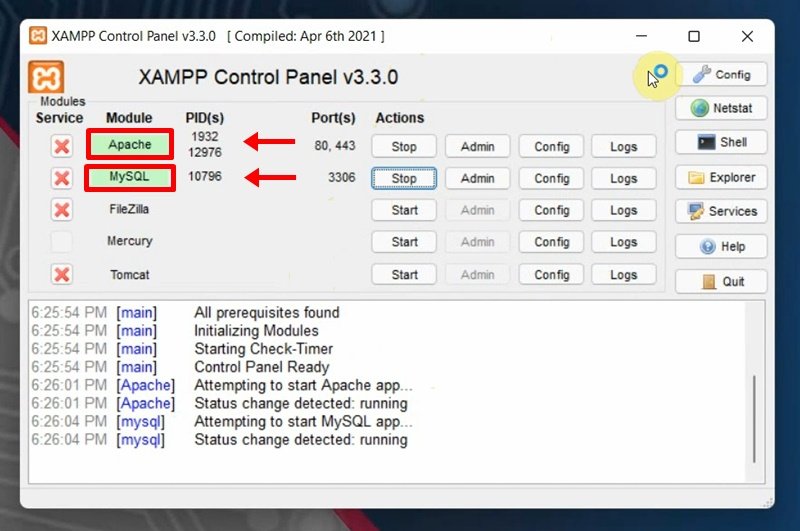
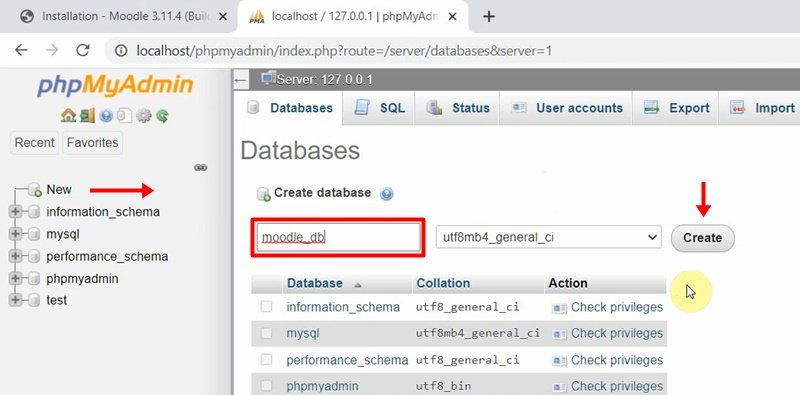
Open up localhost in your browser then go to phpMyAdmin menu. Click New to create a new database, give it a name then press Create button

4. Moodle installation on Windows 11 PC
Now, go to the browser and type localhost/yourprojectfolder to start Moodle installation.

Select your preferred language and click on Next button.

Next, confirm installation paths or just leave it at default and click the Next button.

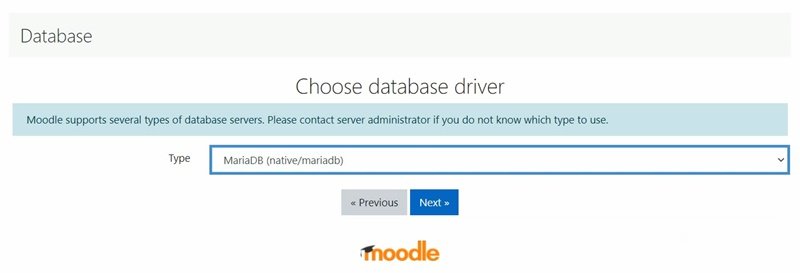
Choose MariaDB (native/mariadb) as the database driver then click Next to continue.
In the next screen, please enter the Database name, Database user and the Database port. Please remember to enter the name of the database you just created and leave the Database password field blank. Click Next continue.

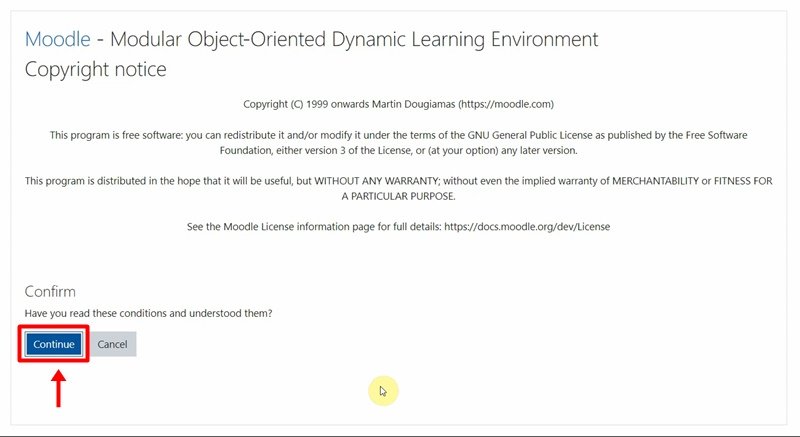
Next, click Continue button.
In the next screen, when prompted with server checks warning like the one shown below, go to php.ini file in XAMPP to correct them as shown in the video tutorial below.

When done, click Continue.

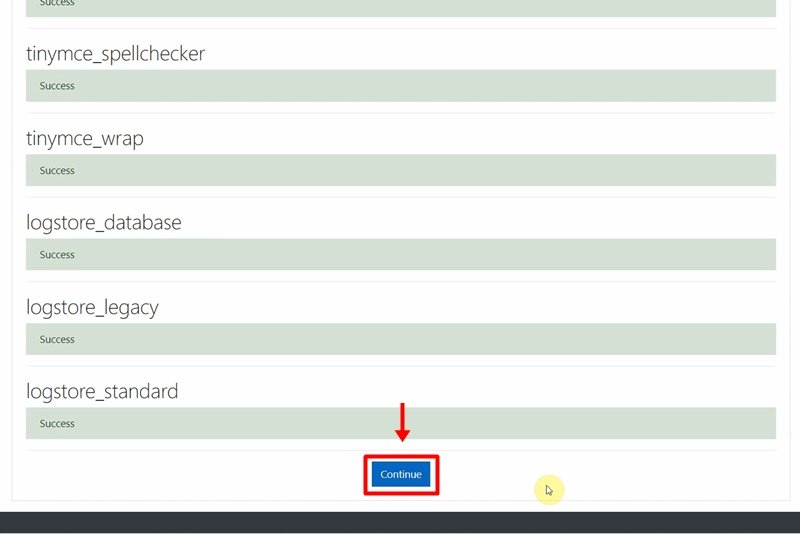
It will take some time for the installation process to complete. When it’s done, click the Continue button.
In the next screen, fill in the administrator details and then click the Update profile button.


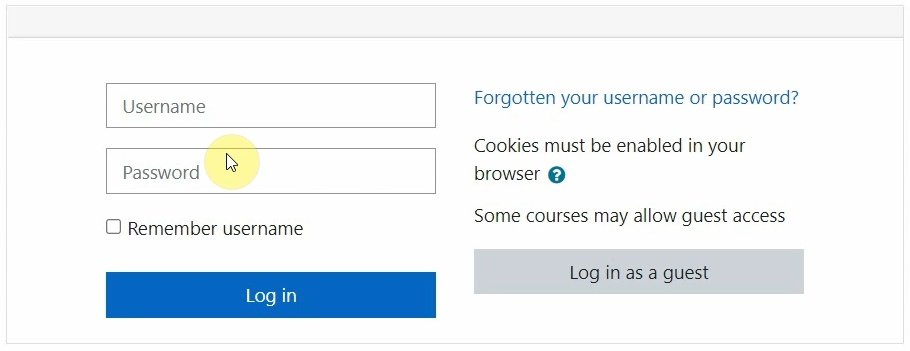
Login using your username and password.
Configure the front page setting per your liking and when done click on Save changes.


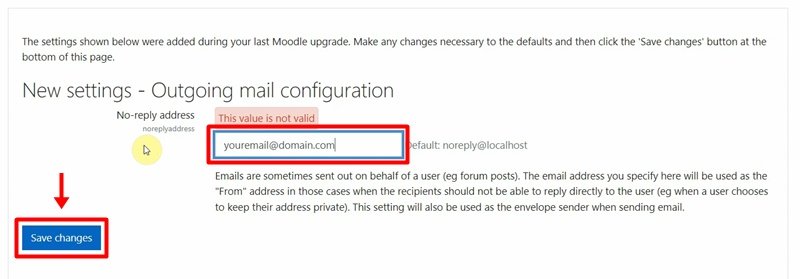
In the next screen, fill in your outgoing email address and click on Save changes.
You have successfully installed Moodle on your Windows 11 computer.
Backend

Frontend
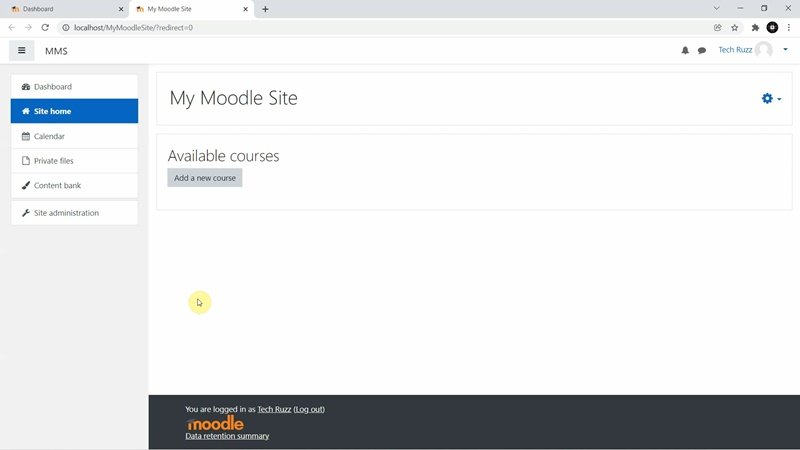
Watch the step by step video tutorial below and see all the steps covered on how to install Moodle on your Windows 11 or Windows 10 computer.
Rate post


Add comment