How to Install Microsoft SQL Server 2019 on Windows 11 PC: This is a step-by-step guide on how to install both Microsoft SQL Server 2019 and SQL Server Management Studio (SSMS) in Windows 11. We’re going to start by first installing SQL Server 2019 Express Edition on Windows 11.
How to Install Microsoft SQL Server 2019 on Windows 11
1. To install SQL Server 2019, head over to the Microsoft SQL Server Downloads page and download SQL Server 2019 Express Edition.

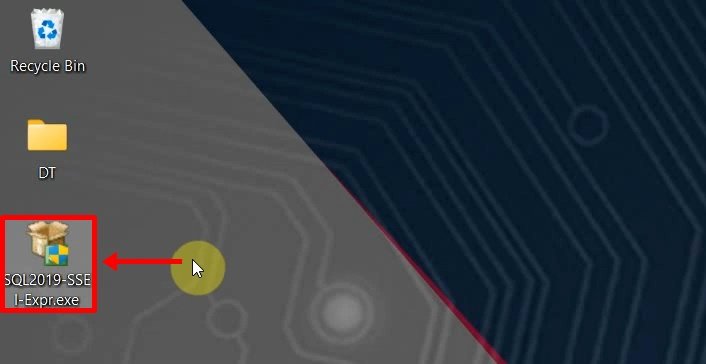
2. Navigate to the directory where you downloaded the application then double-click it to start the installation process.
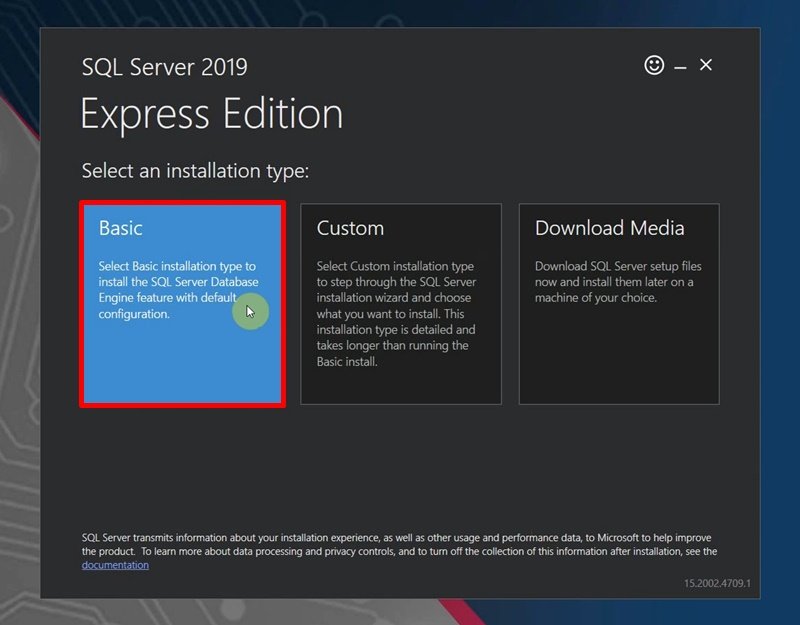
3. From the Select an installation type screen, as a beginner go with Basic installation type to install the SQL Server Database Engine feature with default configuration.
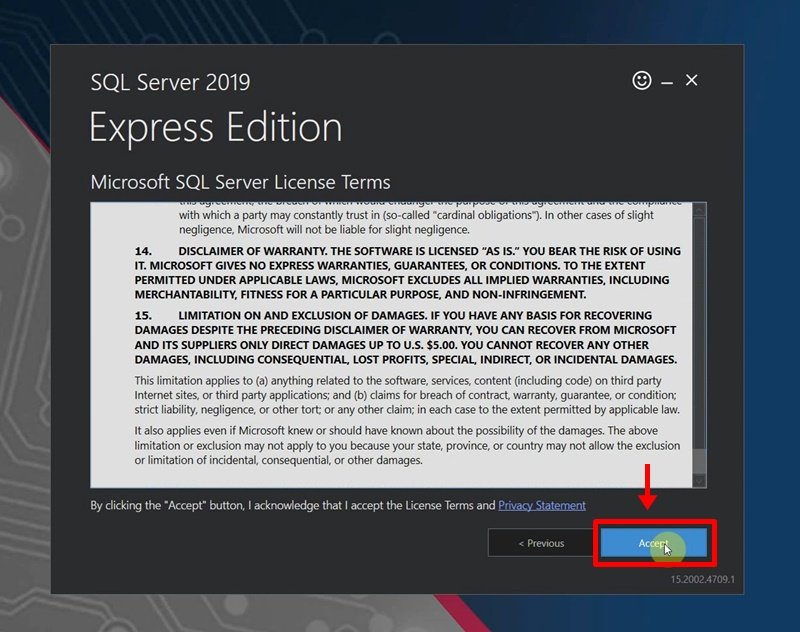
4. Read the Licence Terms and Privacy Statement and acknowledge it by clicking on the Accept button to continue.
5. Specify a directory where SQL Server will store files then click the Install button to download SQL Server 2019 Express’ installation packages.

6. Be patient as the download begins, it may take some time to complete the installation process.
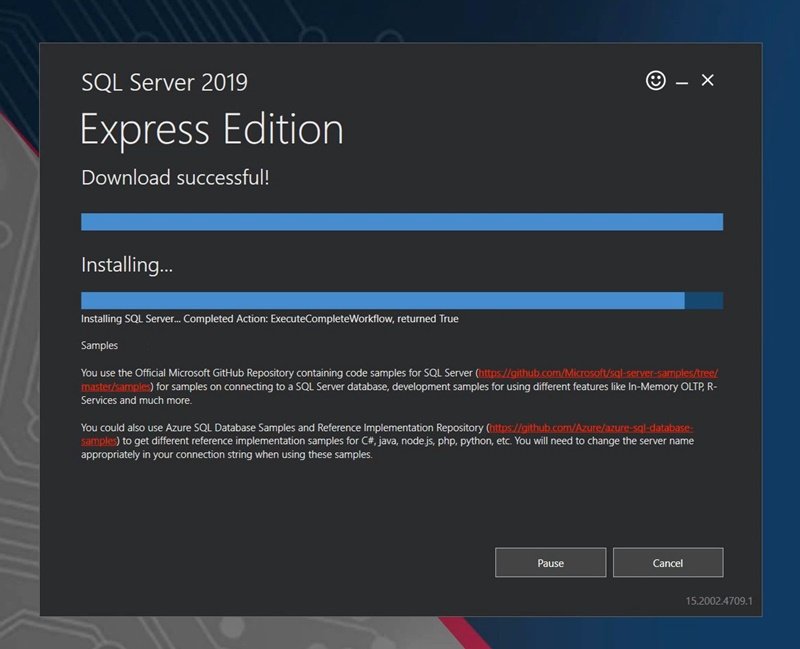
7. Once the installation process has been completed successful, you will see the below screen. It’s now time to proceed with the installation of SQL Server Management Studio (SSMS).

How to Download and Install SQL Server Management Studio (SSMS)
8. Before we begin, head over to the SQL Server Management Studio page and download SQL Server Management Studio. Alternatively, click the Install SSMS button as shown on the screen below. You will be redirected to the download page on your default browser.

9. Once you’re there. click the download link and the SSMS setup file will be download to the default download location that was set on your browser.

10. Navigate to where the setup file is then double-click it to start the installation process.

11. Now you will see the below screen. Select the installation location of your choice. I will go with the default location. Now click the Install button.

12. Wait as the installation process continues, it may take some few minutes.

13. Once the installation is complete, you’ll get a message that says All specified components have been installed succesfully like the one showed below. Click on “Close“. Your SQL instance is installed and ready to be used.

14. You can now go ahead and lauch SQL Server Management Studio.

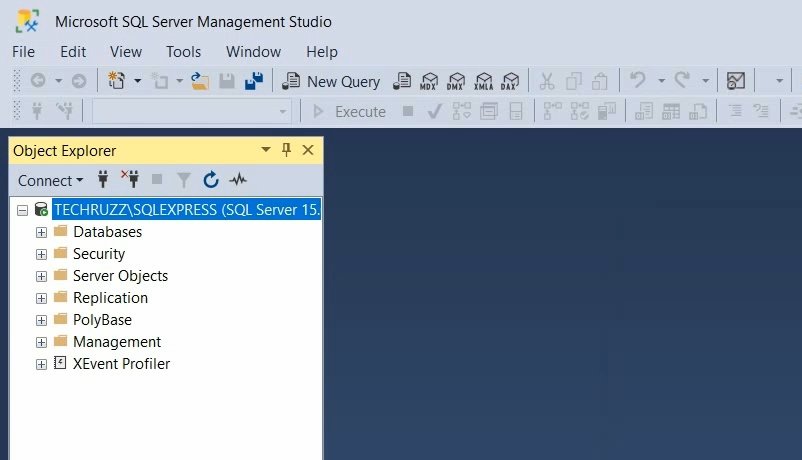
15. Choose SQL Server Authentication from the Authentication drop-down menu and make sure the server type and name options are correct. Now you will have to click the Connect button to connect to SQL Server.

16 The SQL Server 2019 instance has been finally installed. What remains is to create databases and take advantage of its resources.
Rate post


Add comment