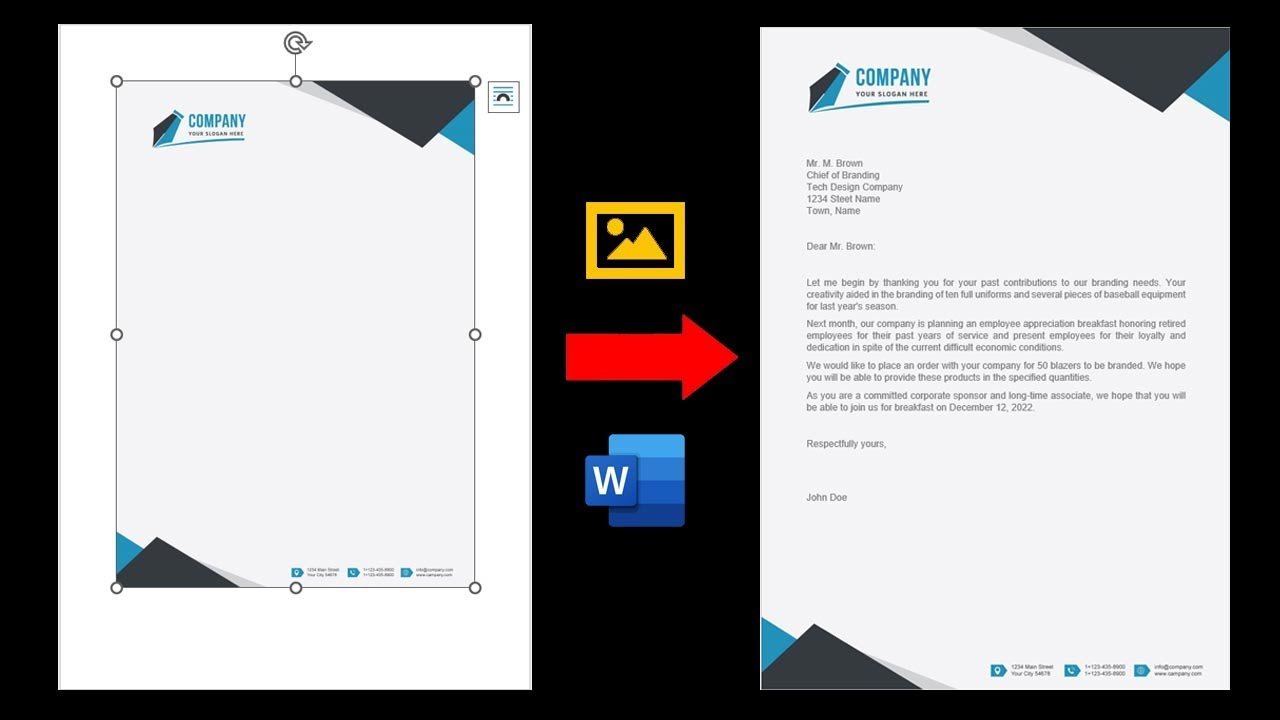
How to Insert a Pre-Designed Image Letterhead in MS Word: Using a pre-designed image letterhead in Microsoft Word can save you time and ensure consistency in your business communications. If you’ve already created a captivating letterhead design with your company logo and contact information, this guide will walk you through the steps to seamlessly incorporate it into your Word documents.
How to Insert Image Letterhead in MS Word
Prepare Your Pre-Designed Image Letterhead
Before you begin, ensure you have your pre-designed image letterhead file ready. This file should ideally be in a high-resolution format (such as PNG or JPEG) and optimized for printing or digital sharing. Here’s how to proceed:
- File Format: Make sure your letterhead design is saved in a suitable image format, like PNG or JPEG. These formats preserve image quality and support transparent backgrounds if needed.
- Image Dimensions: The dimensions of your letterhead design should match the layout of your Word document. For standard letter-sized documents (8.5″ x 11″), your letterhead design should be adjusted accordingly.
- Transparency: If your design includes a transparent background, ensure that the image maintains its transparency when inserted into Word.
Inserting Your Pre-Designed Letterhead into Word
Now that your pre-designed letterhead is ready, follow these steps to seamlessly integrate it into your Microsoft Word documents:
- Open a New Document: Launch Microsoft Word and create a new blank document.
- Insert the Letterhead Image: a. Navigate to the “Insert” tab on the Word ribbon. b. Click on “Picture” and select your pre-designed letterhead image from your computer’s file system. c. The image will appear on the page. You can resize it by clicking and dragging the corners while holding the Shift key to maintain proportions.
- Positioning and Alignment: a. Use the alignment guides that appear as you move the image to position it correctly on the page. b. Make sure the letterhead image is placed at the top of the document, where you want it to appear on your letter.
- Text and Content: Add your content below the inserted letterhead image. This could include the date, recipient’s address, salutation, body of the letter, and closing.
Saving and Using Your Word Document with Letterhead
Once you’ve successfully inserted your pre-designed image letterhead, it’s important to save your document in a way that preserves the letterhead for future use. Follow these steps:
- Save the Document as a Template: a. Click on “File” in the top-left corner of Word. b. Choose “Save As” and select a location where you want to save the document. c. From the “Save as type” dropdown, choose “Word Template (*.dotx).” d. Enter a name for your template, such as “Letterhead Template.”
- Using the Template: a. Whenever you need to write a new letter with your pre-designed letterhead, open a new document based on the template you created. b. The letterhead image will be in place, ready for you to start typing your content.
Conclusion:
Inserting a pre-designed image letterhead into Microsoft Word is a straightforward process that adds a professional touch to your business correspondence. By following these steps, you can ensure that your branding and contact information are consistently presented in all your Word documents. This efficient approach saves time and maintains a cohesive image for your brand, whether you’re sending letters, memos, or other important communications.
How to Create a Professional Letterhead with Logo in Microsoft Word
A well-designed letterhead with a logo can greatly enhance the credibility and branding of your documents. Microsoft Word offers a simple yet effective way to incorporate an image letterhead with your company’s logo. In this step-by-step guide, we’ll walk you through the process of creating a professional letterhead in Word, complete with your organization’s logo.
Gather Your Resources
Before you start designing your letterhead, make sure you have the following resources ready:
- Your company logo: Ensure you have a high-quality image file of your logo (preferably in PNG or JPEG format) with a transparent background.
- Contact details: Gather the relevant information you want to include in your letterhead, such as your company name, address, phone number, and email.
Setting Up the Document
- Open Microsoft Word: Launch Microsoft Word and create a new blank document.
- Page Layout: Go to the “Layout” tab and click on “Margins.” Choose “Custom Margins” to set the margins according to your preference for the letterhead. A common choice is 1 inch for all sides.
- Headers and Footers: Still in the “Layout” tab, click on “Margins” again and select “Custom Margins.” This time, navigate to the “Layout” tab within the “Page Setup” dialog box. Under “Headers and Footers,” set the header and footer distances to 0 inches to make room for your letterhead.
Adding Your Logo
- Inserting the Logo: Position your cursor at the top of the page and go to the “Insert” tab. Click on “Picture” to insert your logo image.
- Adjusting the Logo: Resize the logo to your desired dimensions by dragging the corners while holding the Shift key to maintain proportions. You can also use the “Wrap Text” option to adjust the text flow around the logo.
Designing the Letterhead
- Inserting Text: Below the logo, insert a text box from the “Insert” tab. Enter your company name, address, phone number, email, and any other contact details you want to include. Adjust the font, size, and color to match your branding.
- Formatting: Highlight the text box and go to the “Format” tab. Use the options here to align and arrange your text neatly. You can also add borders or shading to enhance the letterhead’s appearance.
Save and Use Your Letterhead
- Save: Once you’re satisfied with your letterhead design, save the document as a template for future use. Go to “File” > “Save As,” choose a location, and select “Word Template (*.dotx)” from the “Save as type” dropdown menu.
- Use the Template: Whenever you need to write a letter using your letterhead, open a new document based on the template you created. Your logo and contact details will be there, ready for you to start typing your content.
Conclusion:
Creating a professional letterhead with a logo in Microsoft Word is a straightforward process that can significantly elevate your brand’s image. By following these steps, you’ll be able to design a polished and attractive letterhead that adds a touch of professionalism to your correspondence. Remember, consistency is key, so make sure to use your new letterhead template across all your business communications for a cohesive and impactful brand presence.
Rate post


Add comment