How to download and install Ink/Stitch on Windows 11 or Windows 10 PC or Laptop. Inkstitch is an open-source machine embroidery design platform based on Inkscape that runs on Windows, Linux and MacOS.
In this article I will be taking you through the steps on how to download and install Inkstitch on Windows 11 PC or Laptop.
How To Install Ink/Stitch On Windows 11 PC or Laptop
Here is a how to download and install Inkstitch on Windows 11 PC or Laptop. If you have Ink/Stitch previously installed, remove the old installation first.
Requirements
Since Ink/Stitch is an Inkscape extension. Download and install Inkscape Version 1.0.2 or higher before you install Ink/Stitch.
Download
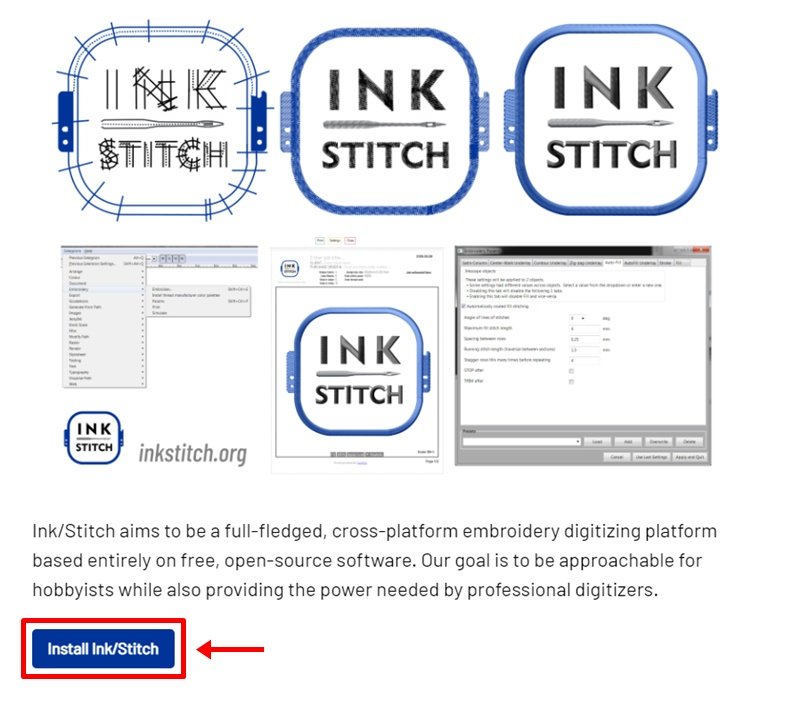
Step 1: Go to the official Ink/Stitch website using a web browser of your choice and click on Install Ink/Stitch button.
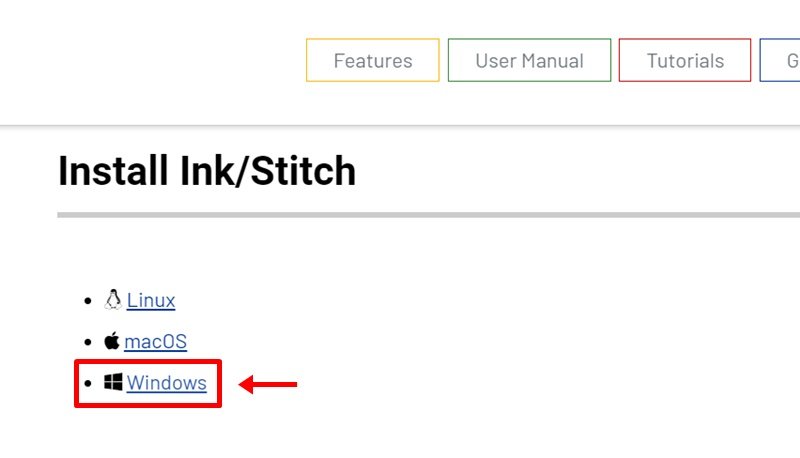
Step 2: On the next page, click on Windows link.
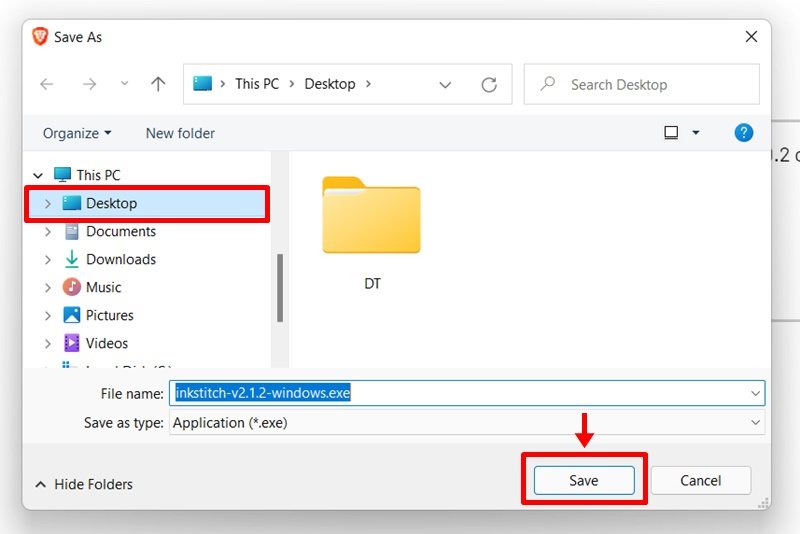
Step 3: Next page, click on Download Ink/Stitch v2.X.X button then Save when prompted.

Installation
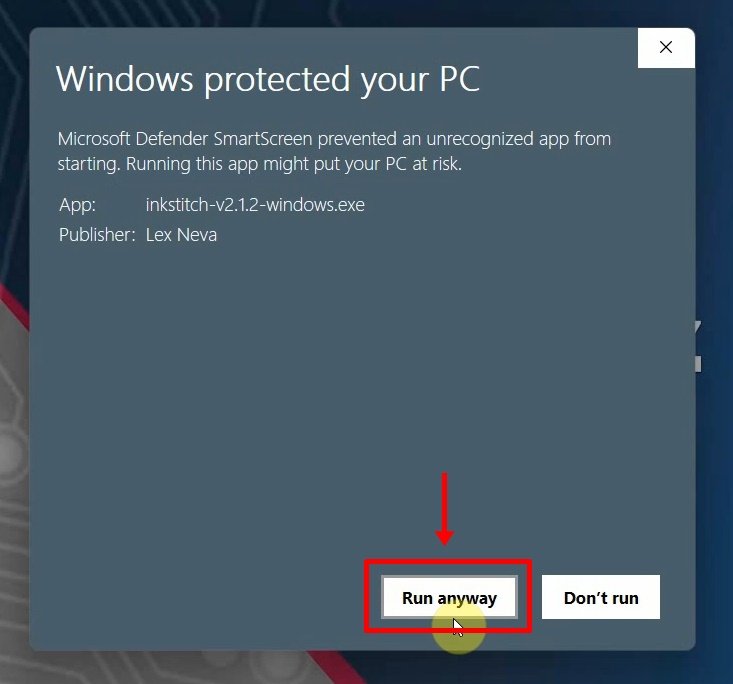
Step 4: Locate and run the executable file. Until Ink/Stitch windows certificate gained enough trust, you will need to allow the installer script to run. Click on More Info.


Step 5: Now click on Run Anyway button.
Step 6: Ink/Stitch needs to be installed into the Inkscape extensions folder. The path is already set for you. Click on Next.
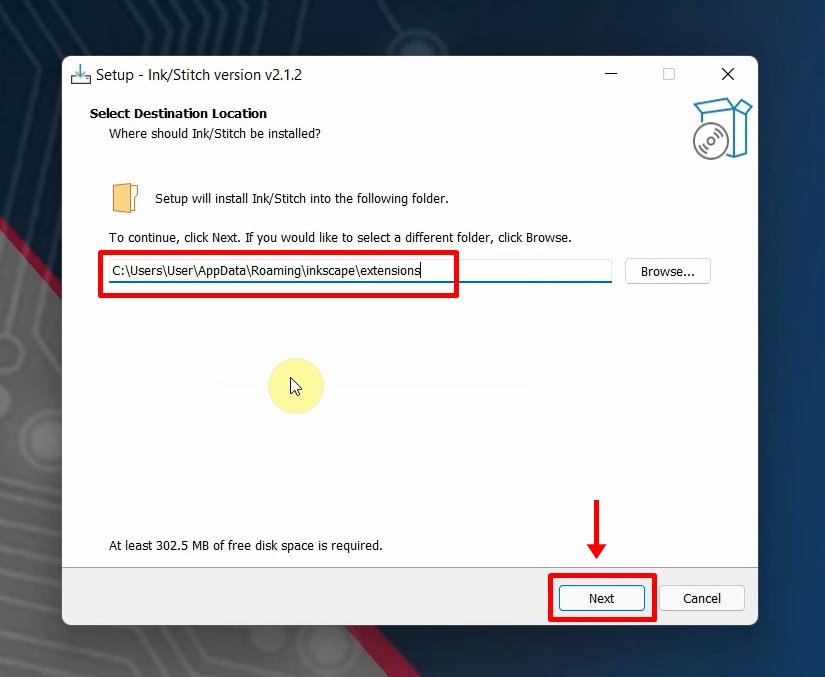
Step 7: Since you have Inkscape installed, the extensions folder already exists. Confirm that you want to install into this folder and click on Yes.

Step 8: The installer will show you a summary of the installation settings. Click on Install.

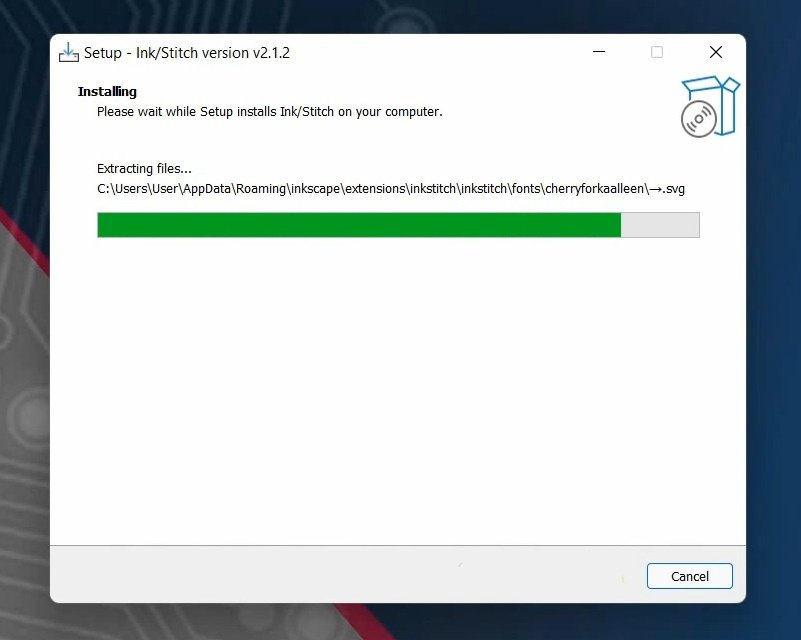
Step 9: Give it a minute for the installation process to complete.
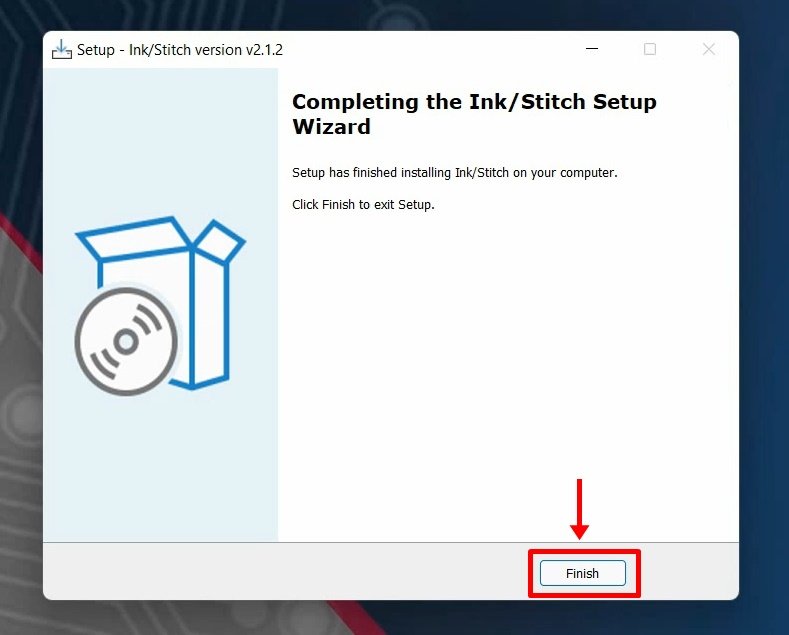
Step 10: You have successfully installed Ink/Stitch. Click on Finish.
Open Inkscape. You will find Ink/Stitch under Extensions > Ink/Stitch.

Demos

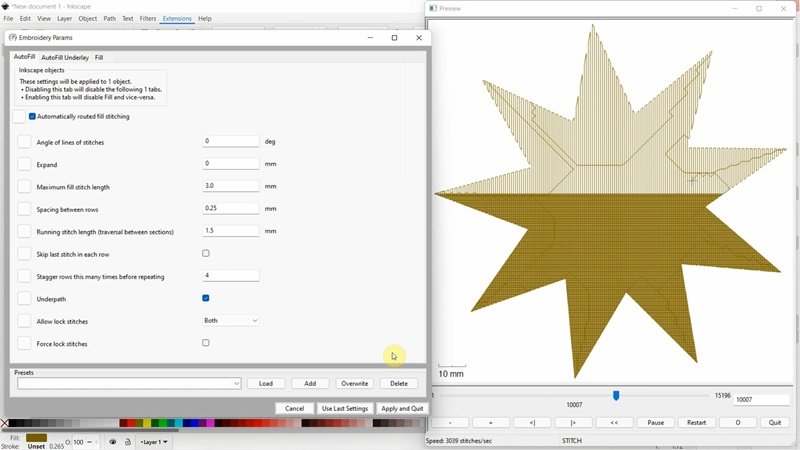
Watch the step by step video tutorial below to how to download and install Ink/Stitch on Windows 11 PC
Rate post


Add comment