How To Download and Install GIMP On Windows 11 or Windows 10 PC or Laptop: GIMP (GNU Image Manipulation Program) is a free and open source program used for image manipulation (retouching) and image editing. It runs on Windows, Mac OS X and Linux.
In this article, I will be taking you through the steps on how to download and install GIMP on Windows 11 PC or Laptop.
How to Install GIMP on Windows 11 PC or Laptop
Here is a step by step guide on how to install GIMP on Windows 11 PC or Laptop.
Step 1: Go to the official GIMP website using any web browser and click on the DOWNLOAD button.

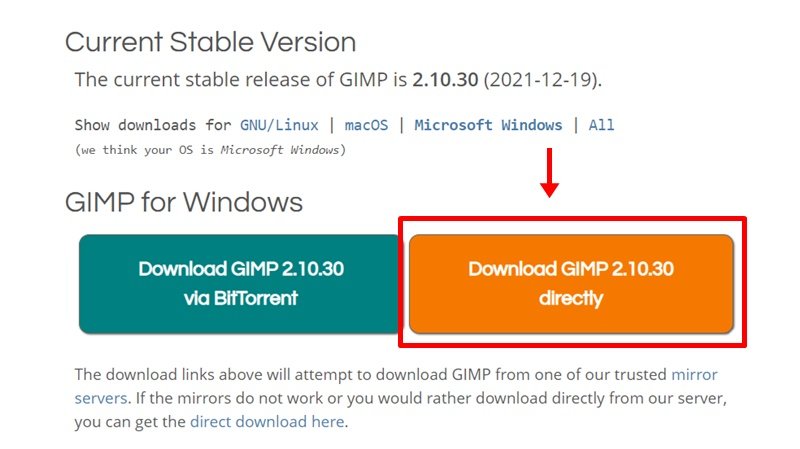
Step 2: On the next page, Click on Download GIMP 2.X.X directly button.

Step 3: Next, select where you want the to save the setup file and clik on Save.

Step 4: Once the download is complete, locate and run the executable file. It will prompt confirmation to make changes to your system. Click on Yes.

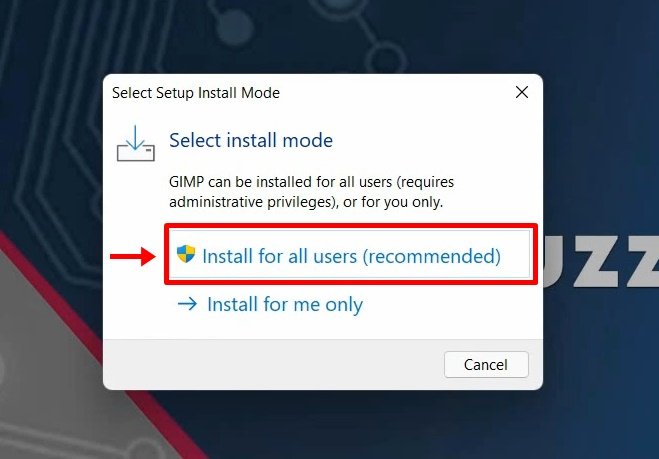
Step 5: Next, select the install mode you prefer. You can choose the recommended one which is to Install fo all users.

Step 6: Next, choose your setup language and click on OK.

Step 7: Click on Install on Gimp the setup wizard window.

Step 8: Now give it some time for the installation process to complete.

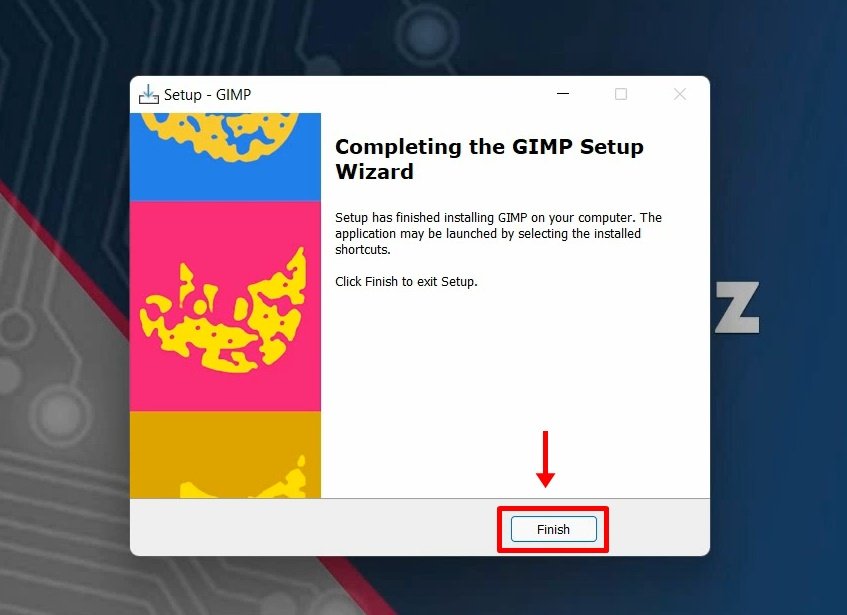
Step 9: When it’s done, click on the Finish button.

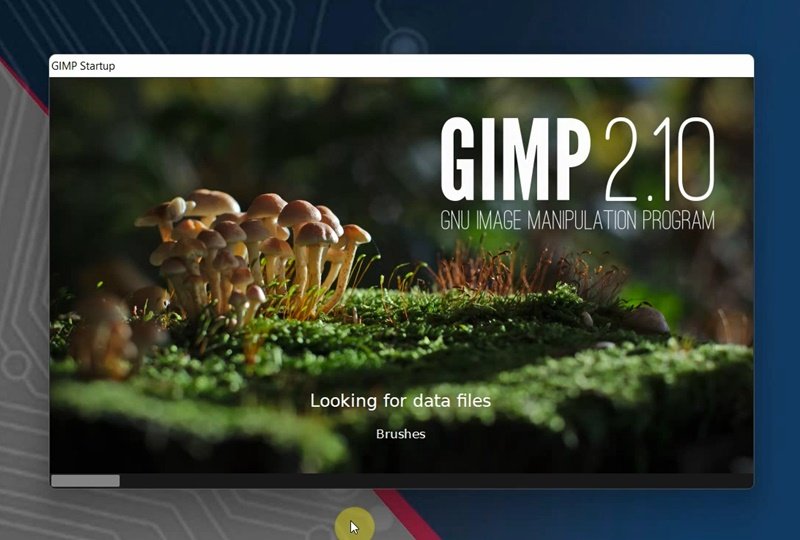
Step 10: You have successfully installed GIMP on your windows 11 or Windows 10 PC. Go to the windows search bar to find and launch GIMP to see the interface.


Watch the step by step video tutorial below to how to download and install GIMP on Windows 11 or Windows 10 PC or Laptop.
Rate post


Add comment