How to Add Clock Widget, Date Widget & Weather Widget in Windows 11 Desktop: In this article, I will show you how to add a clock widget, date widget and weather widget on the desktop in Windows 11. We will be using an application called BeWidgets, available on the Microsoft Store.
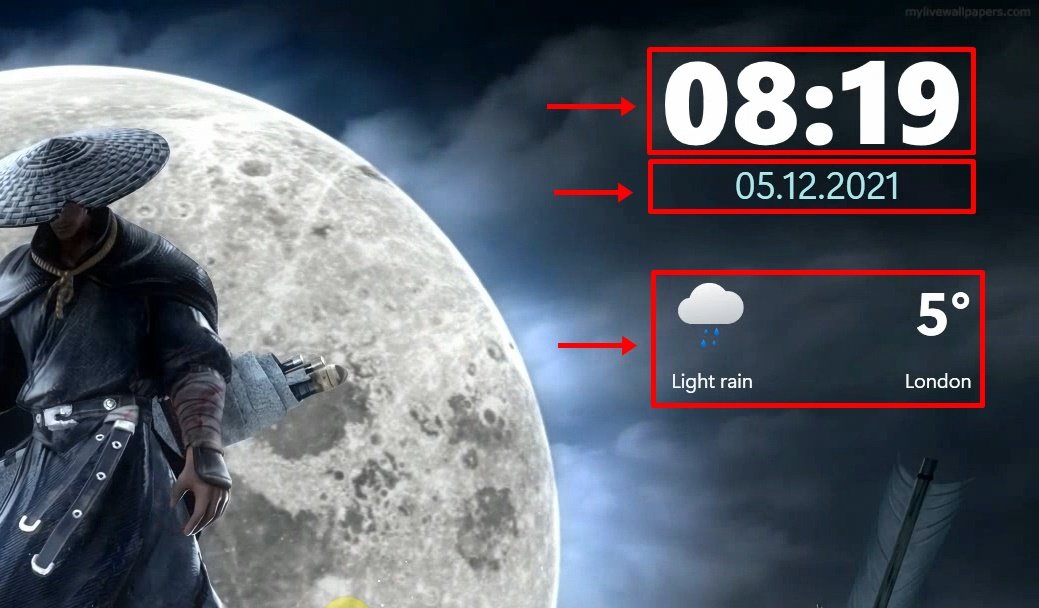
BeWidgets has made it easier to create personalized and fully customizable modern widgets on your desktop. You can create time, date, financial, photos and application shortcut widgets.
Adding Clock Widget, Date Widget & Weather Widget in Windows 11 Desktop

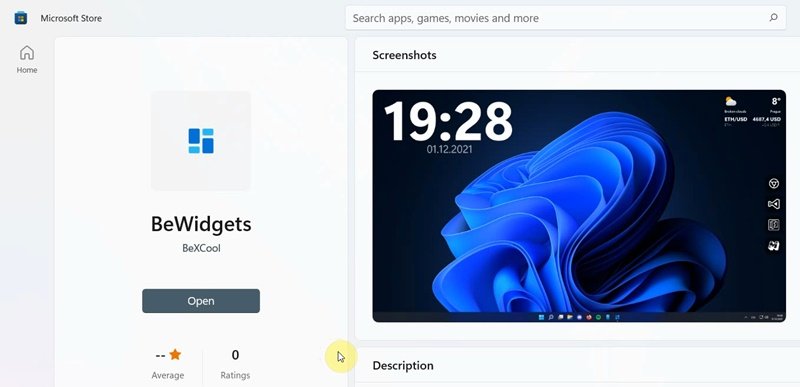
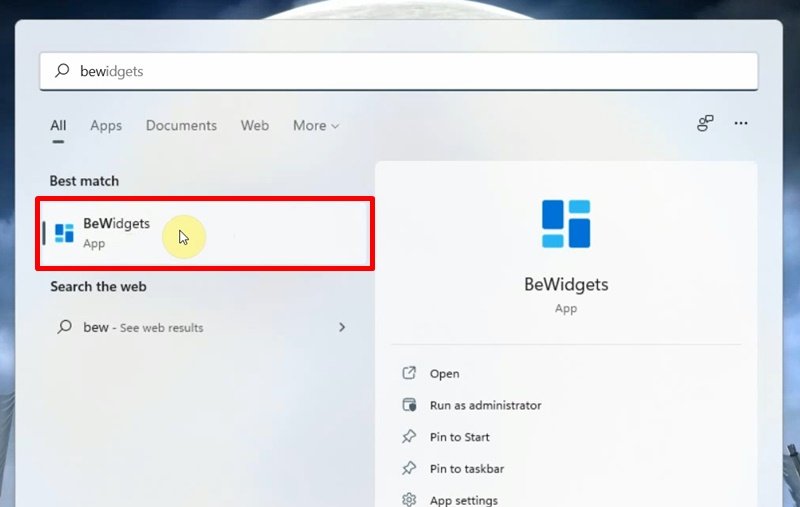
Once the installation process is complete, go ahead and launch the BeWidgets application.
How to Add Clock Widget on Windows 11 Desktop
To add a clock widget in Windows 11 desktop, click on the New Widget button, immediately a clock widget will appear on your desktop. Next, customize the clock widget to your liking. You can change the widget size, background color, font type, font color and also positioning the widget to a specific area on your desktop.


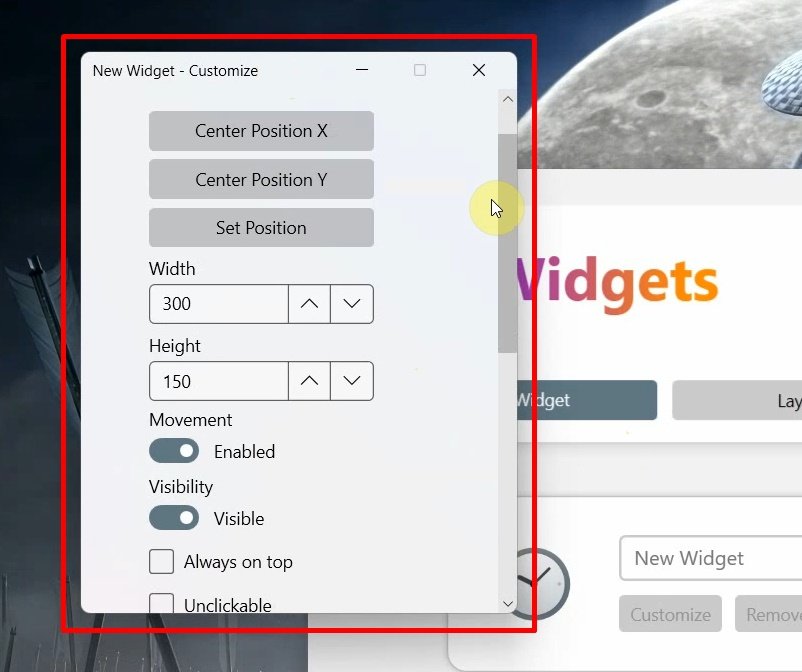
To customize the clock widget, make sure Time is selected then click on the Customize button as shown below.
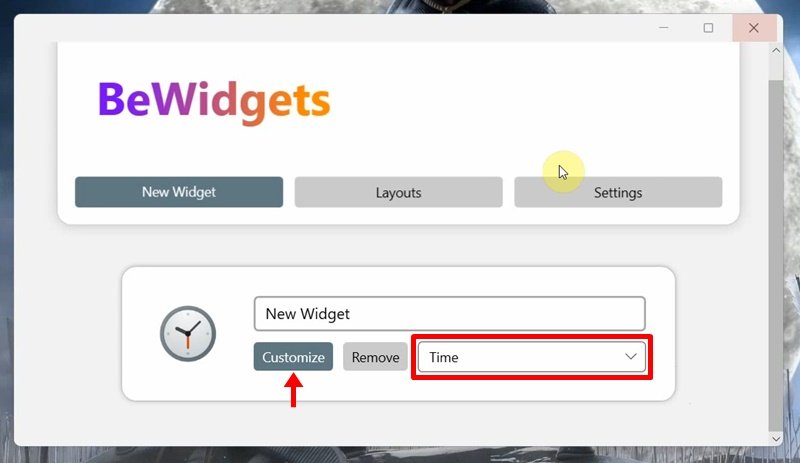
Use the popup window to customize the position, size, color, movement, visibility and style of the widget. watch the step by step video tutorial above for detailed instructions on widget customization.
How to Add Date & Weather Widget on Windows 11 Desktop
Adding both Date and Weather widgets will follow the same procedure, click the New Widget button. Next select Date or Weather instead of Time. Click on the Customize button to change the position, size, appearance, and style of the respective widget.
DATE

WEATHER


Rate post





Add comment