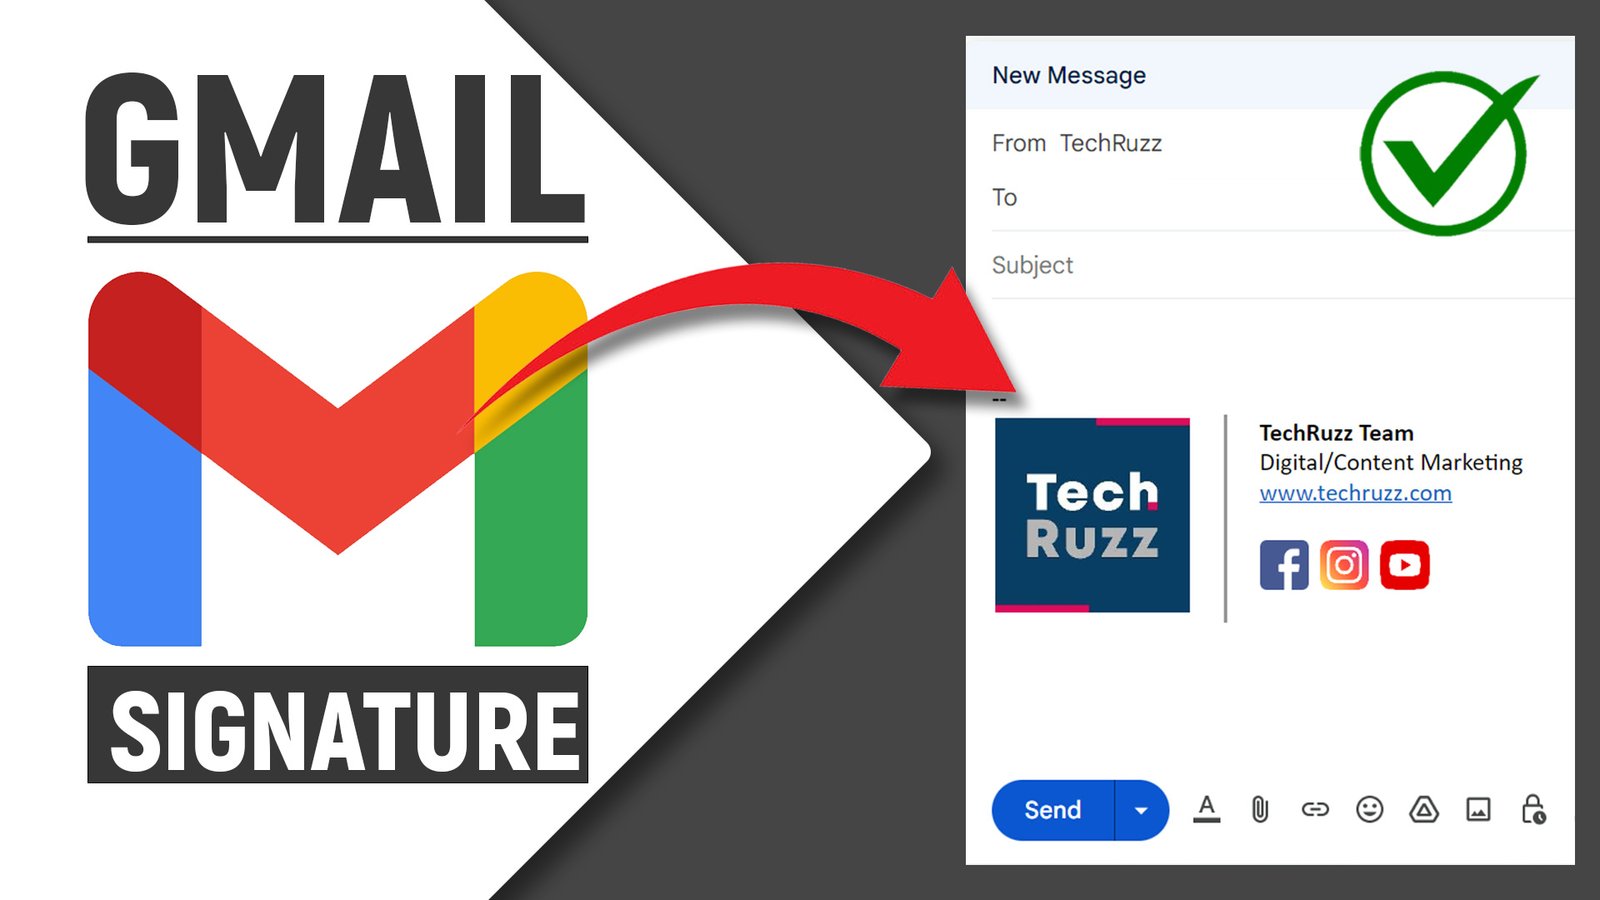
How to Add a Custom Email Signature in Gmail: Email signatures are a professional way to provide essential information and create a lasting impression when communicating via email. With Gmail’s extensive features, you can easily customize your email signature to reflect your personal or business brand.
In this tutorial, we will guide you through the process of designing your signature in MS Word, importing it to Google Docs, and finally adding it to Gmail. Let’s get started!
Why add an Email Signature in Gmail
Adding an email signature in Gmail offers several advantages that can benefit both individuals and businesses. Here are some compelling reasons to include an email signature:
- Professionalism: An email signature gives a professional touch to your emails, creating a polished and credible impression. It adds a level of professionalism and demonstrates that you pay attention to detail.
- Contact Information: An email signature allows you to provide important contact details, such as your name, job title, company name, phone number, and website. This makes it convenient for recipients to reach out to you or access your online presence.
- Branding: An email signature is an opportunity to reinforce your personal or business brand. By including your logo, company colors, and fonts, you can create a consistent and visually appealing signature that aligns with your brand identity.
- Marketing and Promotion: Email signatures can serve as a marketing tool. You can include links to your social media profiles, promotional banners, or links to specific products or services. This helps generate awareness, drive traffic, and potentially increase conversions.
- Legal Compliance: Depending on your location or industry, certain legal requirements may mandate the inclusion of specific information in your email communications. An email signature ensures compliance with such regulations, such as including your company’s registered address or legal disclaimers.
- Efficiency: By having a pre-designed email signature, you save time and effort when composing emails. The signature is automatically appended to each outgoing message, eliminating the need to manually add your contact information every time.
- Consistency: An email signature ensures consistency across all your email communications. Whether you are sending personal emails, business inquiries, or responding to clients, having a standardized signature maintains a unified and professional image.
- Personal Touch: An email signature can also include personal touches, such as a favorite quote or a brief tagline. These elements can help create a connection with the recipients and showcase your personality or values.
Overall, adding an email signature in Gmail enhances your professional image, reinforces your brand identity, and provides recipients with essential information. It simplifies communication, saves time, and enables you to make a lasting impression on your email recipients.
How to Add a Custom Email Signature in Gmail
Step 1: Designing Your Email Signature in MS Word
- Open MS Word and create a new document.
- Design your email signature by including your name, job title, company name, contact information, and any other details you want to include. You can also add a professional headshot or company logo if desired.
- Experiment with different fonts, colors, and formatting options to create an appealing and visually appealing signature that matches your personal or business branding.
Step 2: Importing Your Signature to Google Docs
- Save your signature design in MS Word.
- Open Google Docs by navigating to docs.google.com.
- Create a new blank document in Google Docs.
- Go to the “File” menu and select “Open.”
- Choose the “Upload” option, and select your saved MS Word signature file from your computer.
- Google Docs will convert the file to its format, and your signature will now be displayed in the Google Docs document.
Step 3: Adding the Signature to Gmail
- Open your Gmail account and click on the gear icon in the top-right corner to access the settings.
- In the dropdown menu, select “See all settings.”
- Scroll down to the “Signature” section.
- Click on the radio button next to “Create new” to create a new signature.
- Switch to the Google Docs tab or window and highlight your signature.
- Right-click and select “Copy” or use the keyboard shortcut (Ctrl+C/Command+C) to copy the signature.
- Return to the Gmail settings page and click inside the signature box.
- Right-click and select “Paste” or use the keyboard shortcut (Ctrl+V/Command+V) to paste the signature.
- Make any necessary adjustments to the signature’s formatting within the Gmail signature editor.
- Scroll to the bottom of the settings page and click “Save Changes.”
Conclusion: By following these simple steps, you can create and add a custom email signature to your Gmail account. Designing your signature in MS Word and importing it to Google Docs allows you to take advantage of the various formatting options available in these platforms. The signature adds a professional touch to your emails and helps to convey important information about yourself or your business. Start incorporating your custom email signature in Gmail today and make a lasting impression on your recipients. Happy emailing!
Rate post


Add comment