What is Magento? Magento is an open source ecommerce platform which provides online merchants with a flexible shopping cart system.
How To Install Magento 2 On Localhost Using Wamp Server: Magento Open Source 2.3.0 offers significant new tools for both merchants and developers as well as over 30 core security improvements. Developers will benefit from the new PWA (progressive web applications) tool suite, declarative schema, GraphQL API, asynchronous web APIs, bulk web APIs, and updates to Magento’s tech stack, including compatibility with PHP 7.2. Community contributions to this release are substantial — both overall code quality and special new features such as Inventory Management and bulk APIs.
Before you download Magento, you need to download and install WampServer on your PC as shown on this link.
How to Install Magento 2 on localhost (WAMP Server)
1. Got to https://magento.com/tech-resources/download
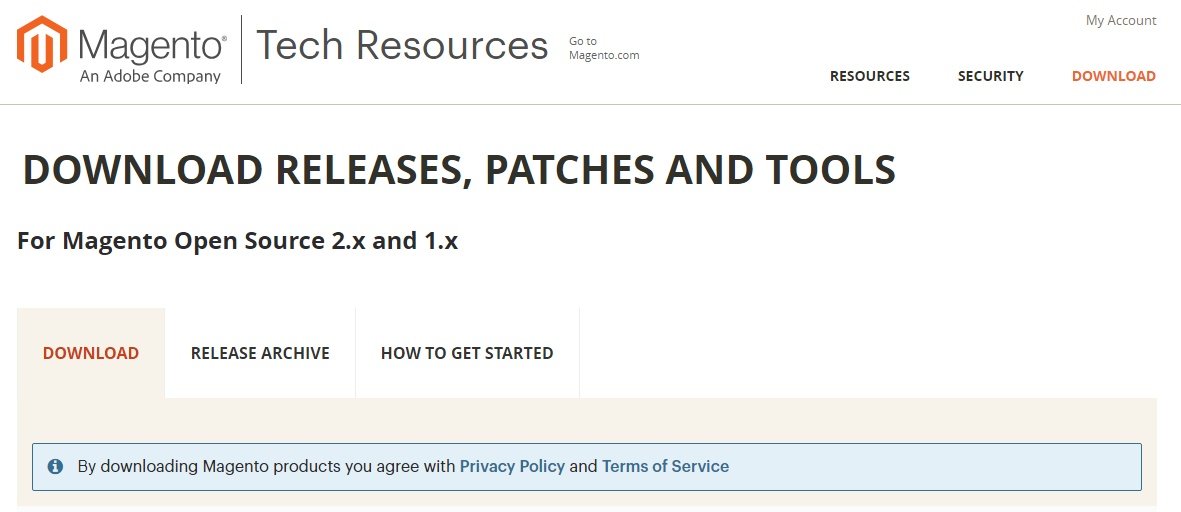 2. Next, select your preferred format then click on the “Download” button

3. Next, login to your Magento account or create an account

4. Next, locate the downloaded Magento file, in may case it was a zipped file5. Next, launch Wamp Server
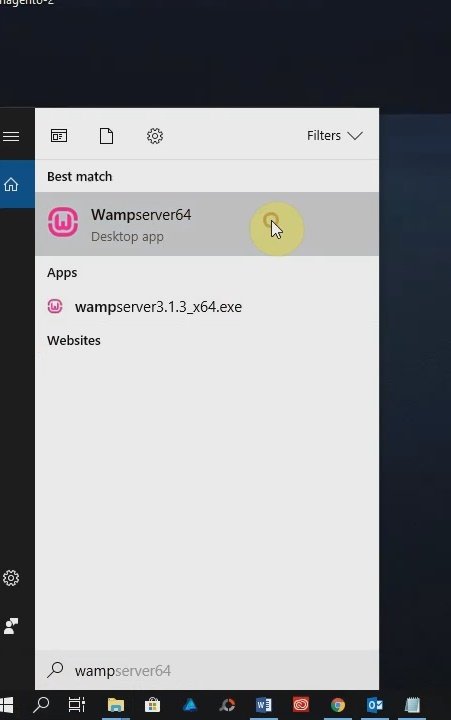
6. Next, go to your browser and type in localhost to make sure that Wamp Server is running as shown below

7. Next, transfer and extract Magento files to the www directory on Wamp Server as show
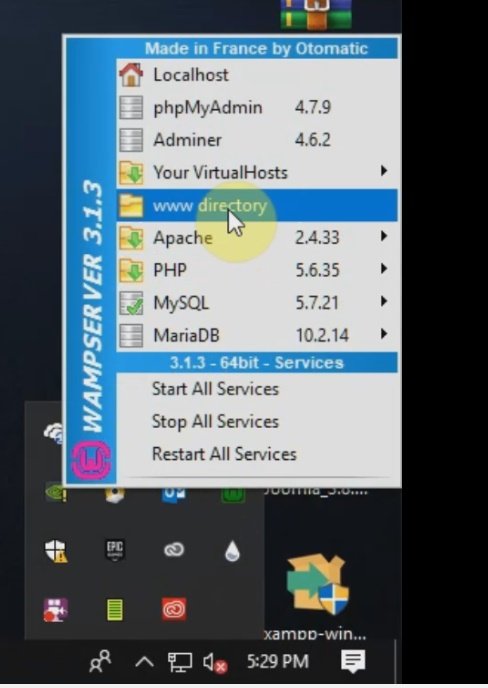
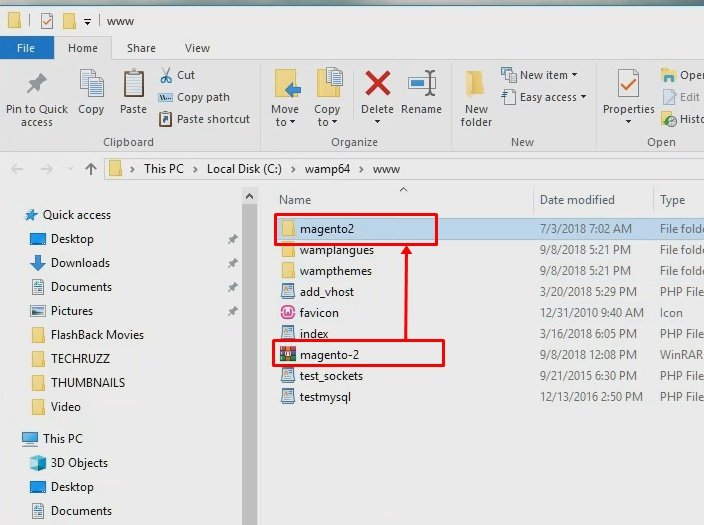
8. Next, go back to your browser and type in localhost/yourmagentofoldername then press enter on the key board

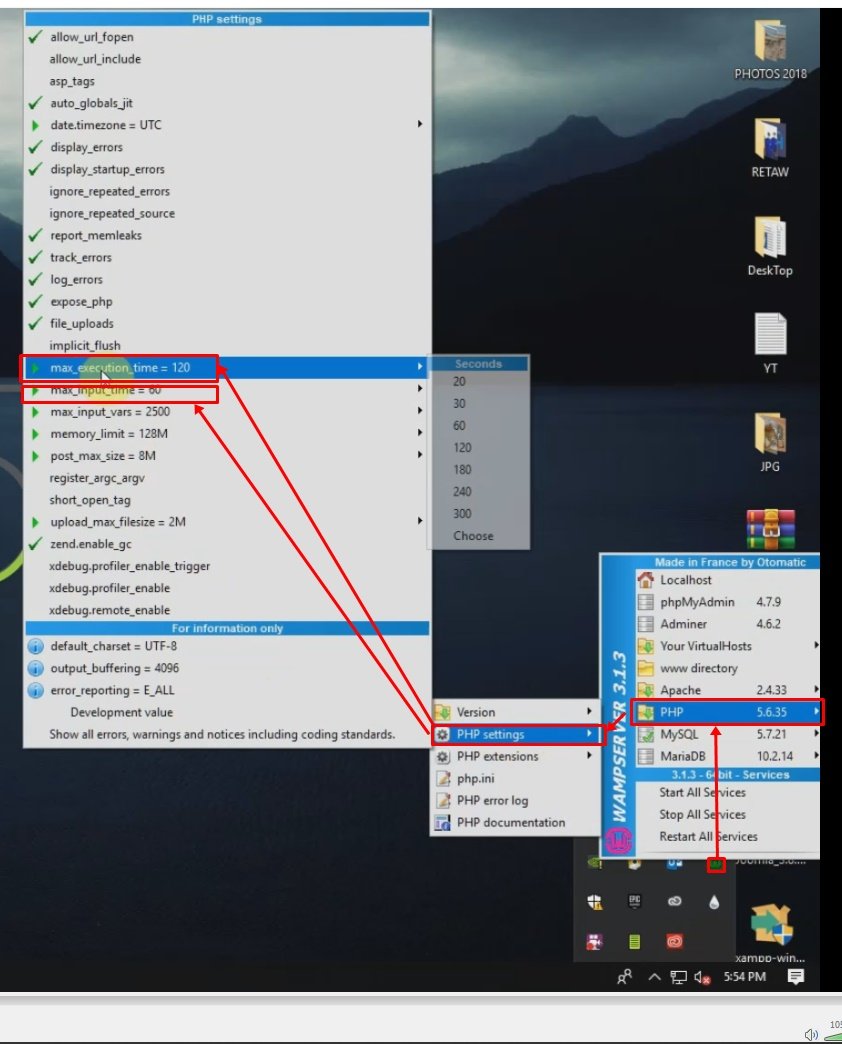
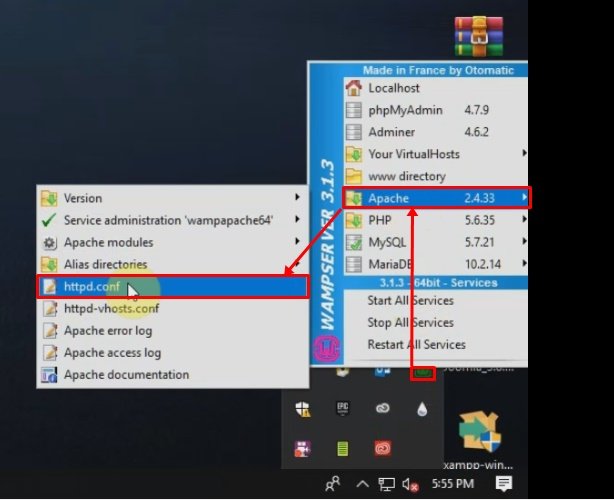
9. Next, if you get below error on step 7, edit the php.ini file and httpd.conf file to the values show below. or watch step by step video here
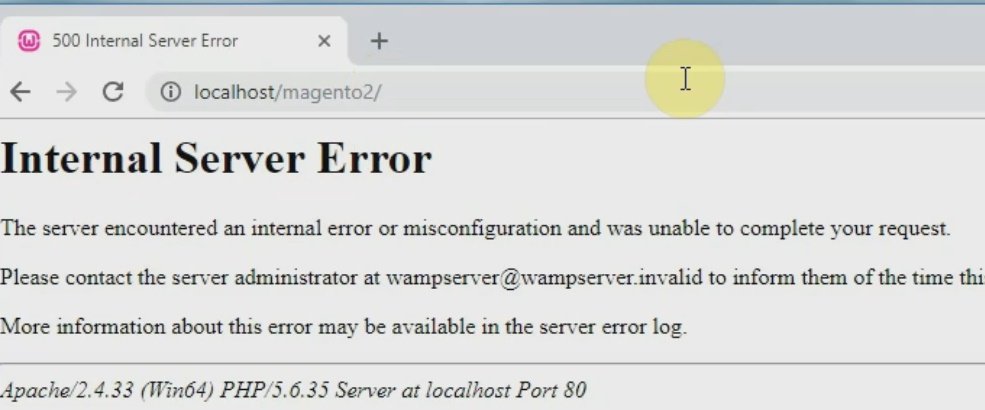
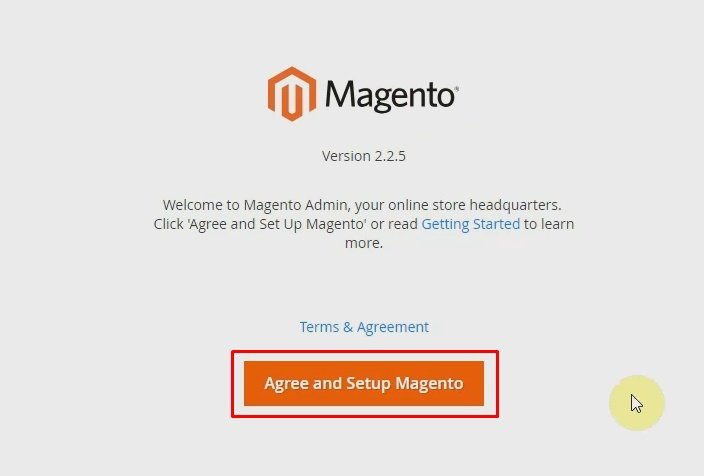
10. Next, click on “Agree and Setup Magento” button
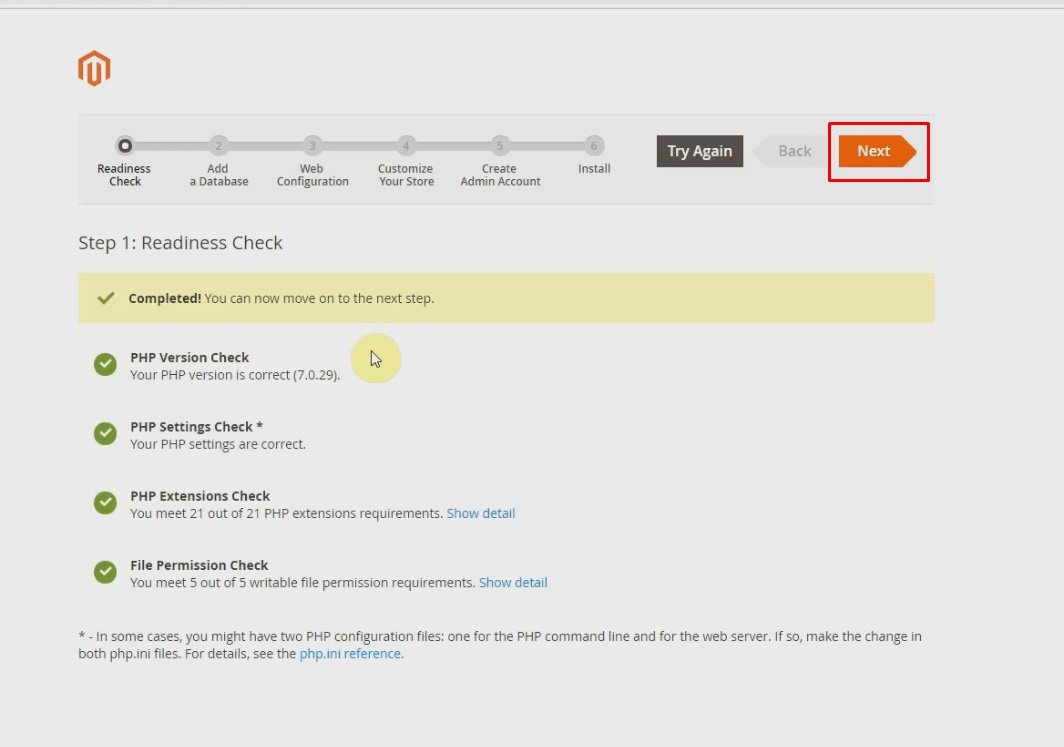
11. Next, click on “Next” button as shown below
12. Next, you need to fill in your database information, so you have to create a database to continue
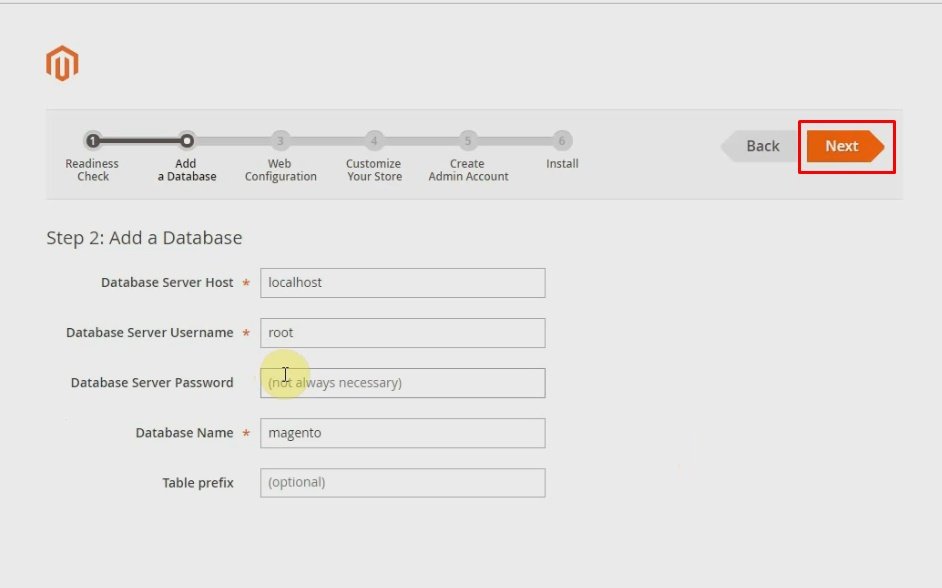
13. Next, go to phpMyAdmin to create a new database as show below

14. Next, after creating the database, fill in the database details as shown below and click on “Next” button
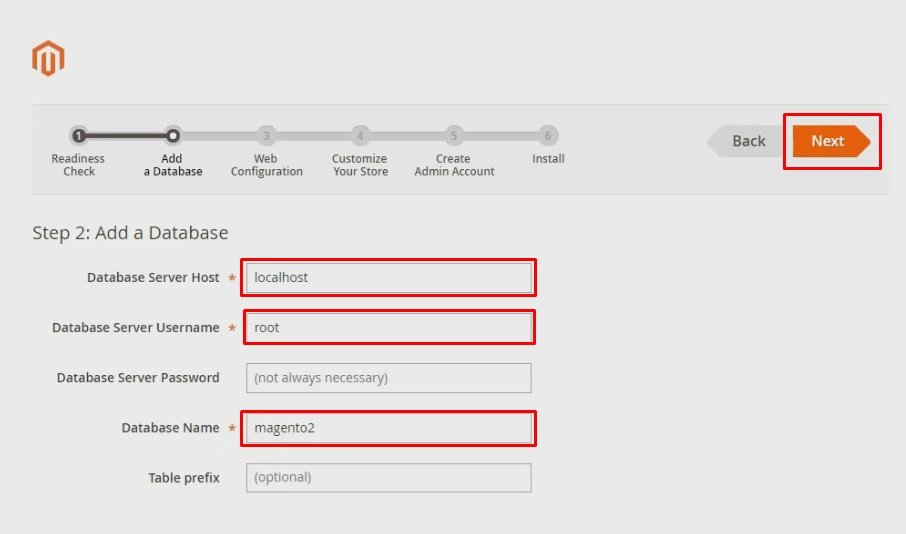
15. Next, click on “Next” button
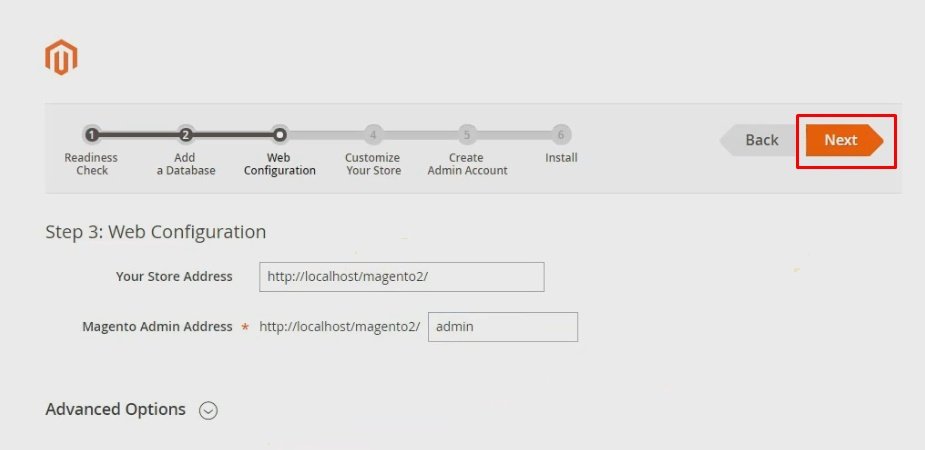
16. Next, customize your store default time zone, currency and language then click on “Next” button
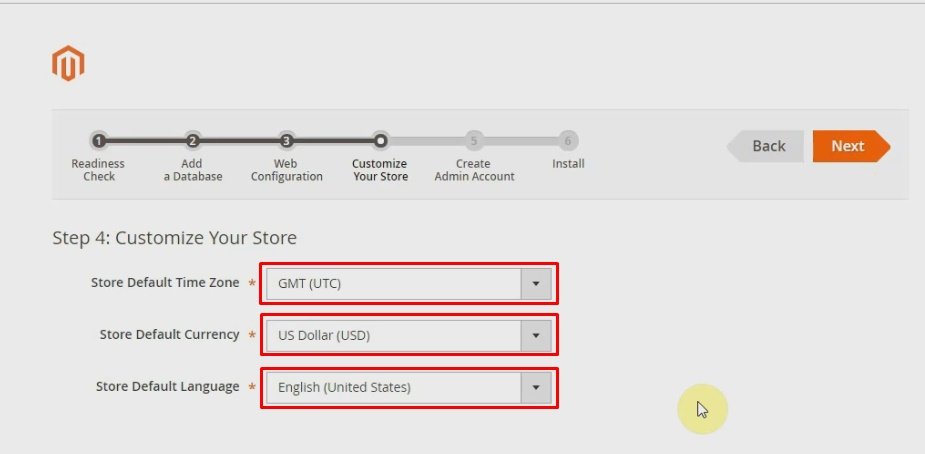
17. Next, create an admin account to manage your store by filling in your username, email address and password then click on the “Next” button
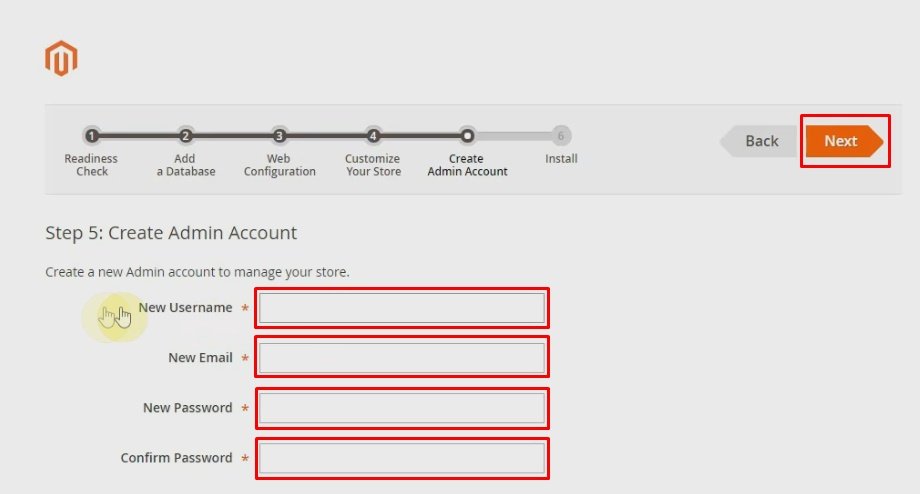
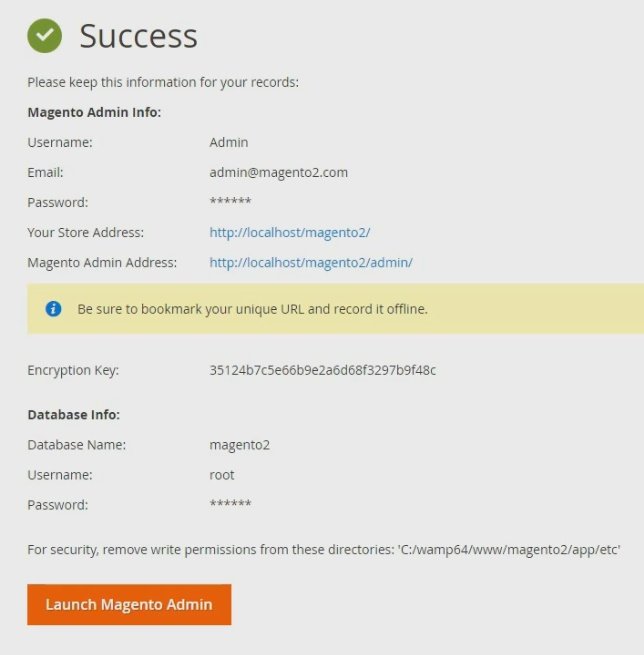
18. Next, click on “Install Now” button and give it some few minutes for the installation process to complete

19. Magento front end
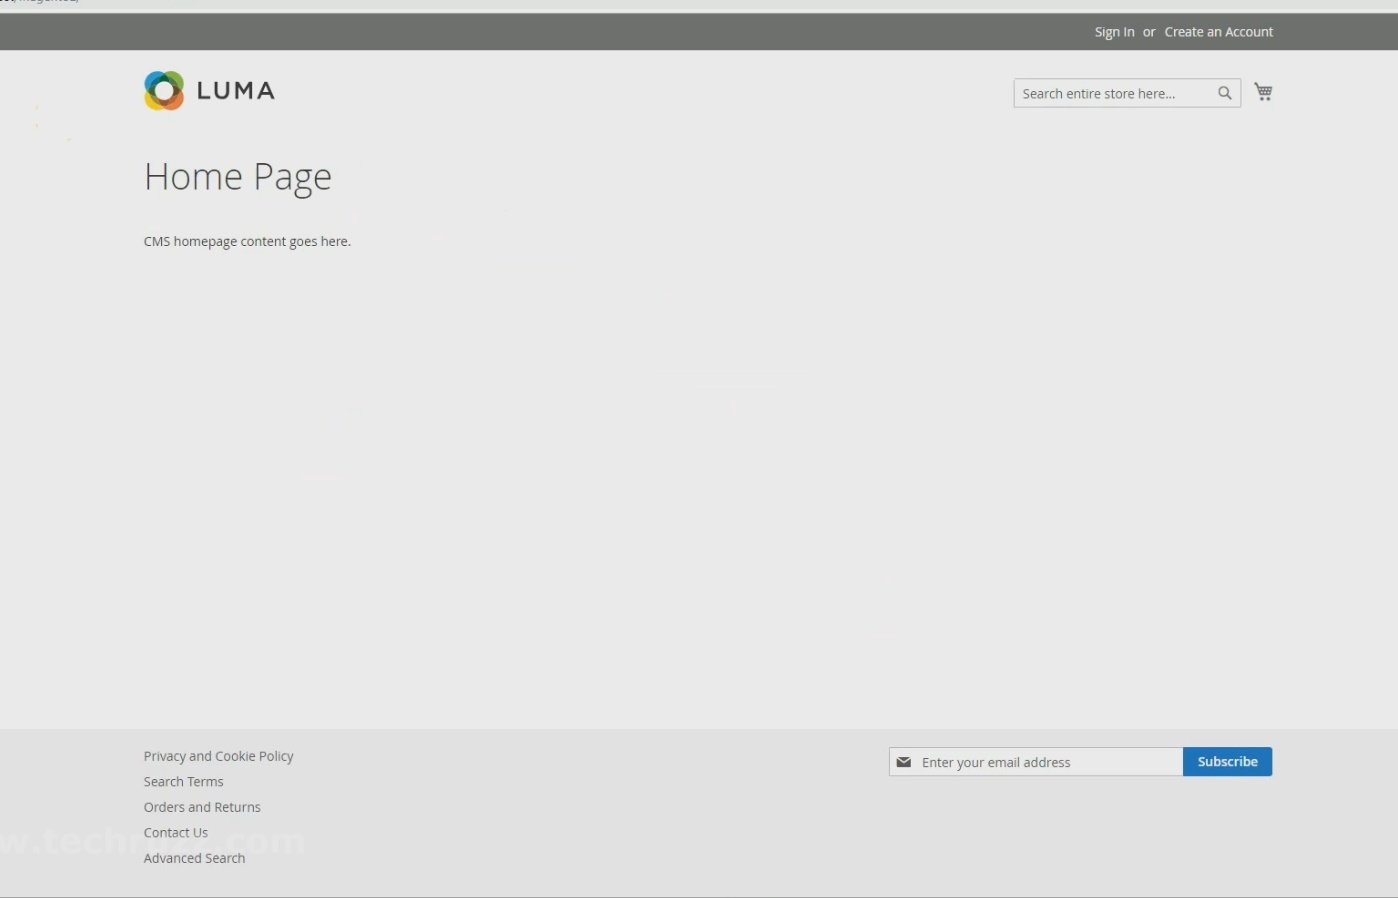
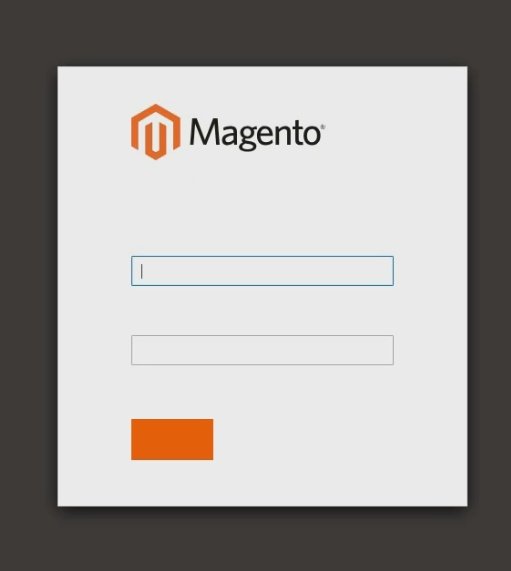
20. Magento Admin login (back end)
Rate post


